The current challenge at
Anything But A Card is to create a project with a 'Fairy' theme. Fairies are not a natural theme choice for me but luckily, I've been altering a charity shop purchase which hopefully fits the bill perfectly.
A while ago, I bought a rather sad looking papier mache dress form with a wooden stand. It was fairly non-descript but I wanted to have a go at giving it a new lease of life with some
Timeworn techniques and DecoArt products. The only problem was I forgot to take a picture of the complete product before alterations began - so annoying! Luckily I have images of each section so I think you'll get the idea.
Don't forget that last week our challenge kicked off with part of the DT showing their inspiration so if you haven't been over to have a look yet, it's not too late! The remaining DT will be posting their work today too so do pop over to
Anything But A Card and have a look!
I should warn you that this post does include quite a few photos so best get a cup or glass of something nice before scrolling down.
 |
| This altered art piece started out life looking like the following images: |
 |
| The dressform was painted with two coats of DecoArt Gesso and the neckline of the 'dress' was established. The area above the bodice was given a version of a Timeworn rust finish. |
 |
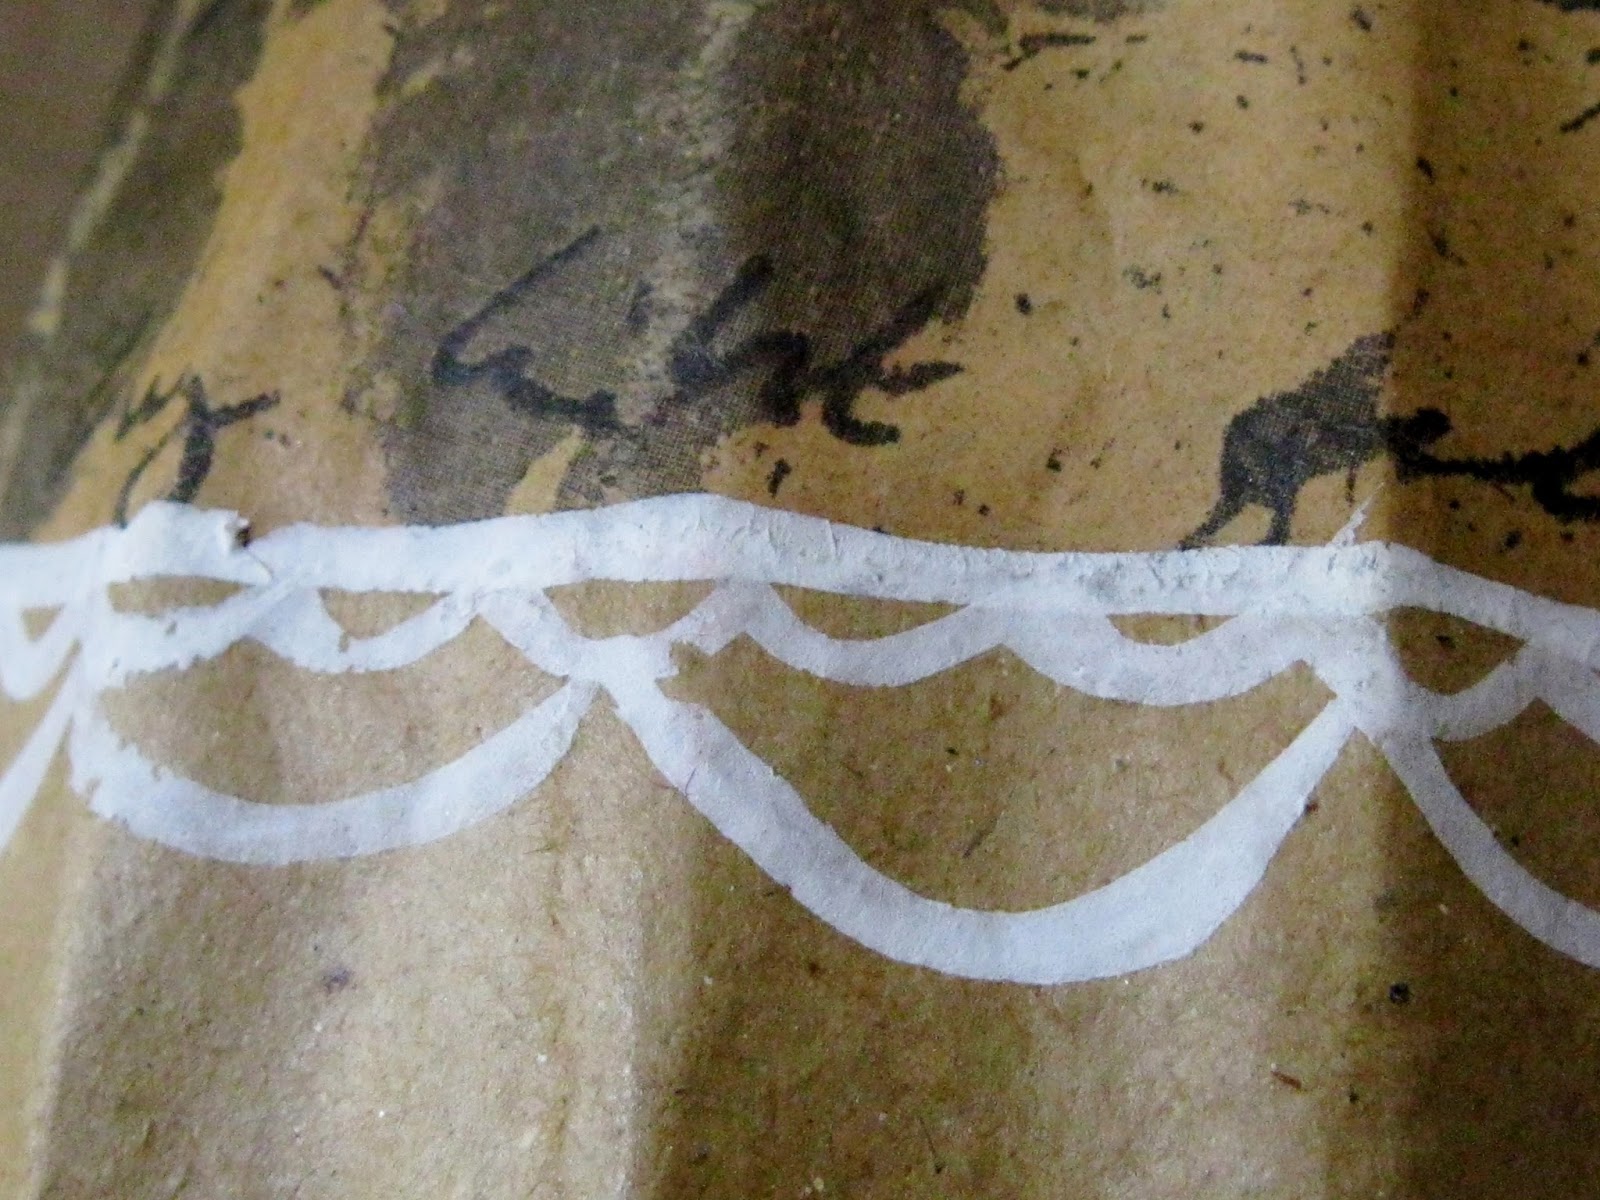
| Alternate sections of lower half had DecoArt modelling paste applied through a stencil. Traditions paint was applied in a selection of colours: |
 |
| The application of the paint was fairly random. |
 |
| When dry, the paint was covered with a layer of DecoArt weathered wood and allowed to become touch dry. A coat of Viva Croco crackle paint was applied and dried immediately. This enables wonderful large cracks to develop. |
 |
| The sections without the gold paint were finished using DecoArt two step crackle and left to dry. DecoArt Traditions paint in raw umber was applied to the dry surface and then wiped away to leave colour in the cracks only. |
 |
| The stand and base were painted with DecoArt Traditions in warm white. The metallic lustre was then applied in two areas and buffed to a shine. |
 |
| Three sets of wings were die cut, glued together and covered back and front with gesso. |
 |
| The base was stamped with versamark ink and mica powder was lightly applied. |
 |
| The wings were stamped in the same way and a Krylon pen was used to give definition to the edges. |
 |
| The wings and stand/base were treated with two step crackle and finished with Traditions raw umber as before. |
 |
| The coloured layer was extended underneath the body section. |
 |
| The wings are attached to the back using a glue gun for extra strength. The back view of the 'skirt' is also seen here (further details later). |
 |
| The neck and chest area was finished with a layer of graphite. Rusted wire gives interest to this area too. |
 |
| The top 'skirt' layer was created from die cut pieces. Modelling paste was applied through a stencil followed by a Timeworn rust technique and the addition of 'studs'. The die cuts were joined with rusted wire to form the skirt. |
.JPG) |
| Flowers have been used to decorate the project in various places. Floral shapes were die cut, painted in the same colours as the body and details were added to some of the flower centres. Two step crackle was applied as before on the wings and base/stand. |
.JPG) |
| All the flowers were painted on the back so that they can be viewed from any angle. |
.JPG) |
| The base was painted with DecoArt Traditions. Three old nuts (naturally rusted), were glued into position to act as 'feet' to raise the stand up a little. |
.JPG) |
| Back view. All the flower pieces were layered together and joined with a paper fastener which was altered using DecoArt metallic lustre. |
Fairies may not be your favourite theme but I hope this and the work of the other DT members shows that you can approach
the challenge from many different angles. You can make anything (except a card of course!), using any medium you choose - it can't get any better than that can it?!
It feels so good to be back and creating again. I'm pleased with the way this project turned out although as usual, my nearest and dearest continues to ask 'what is it, what does it do and what's it called?'!
If you managed to get down this far, thank you for taking the time to do so and thanks to those who left such lovely comments on my previous post.


.JPG)
.JPG)
.JPG)
.JPG)
OMG, this is one incredible fairy creation, - STUNNING!!! Thanks for the clear step by step also, love all the rusty bits and that fabulous crackle, this is one fantastic piece!! So good to have you back!
ReplyDeleteWOW great find Julia and love how you've created that dress!!
ReplyDeleteFairies are not my thing either, but you've done a fab job transforming this piece!!
Sam xxx
Wow wow wow, back with a bang or what missus!!! She is absolutely stunning!! Fab techniques so very well delivered as always sweetie, your composition is superb too. I hope she gets pride of place somewhere suitable so that she can be admired by all.
ReplyDeleteHuge huggles x x x x
I'll eat my hat, if there wasn't at least one fairy around you, transforming this dressform. (:o)The dress must be created with fairy dust*lol* Gosh, what a magical creation. All the different colours, layers and cracks are awesome. I really enjoyed the step by step pictures.
ReplyDeleteHi Julia, lovely to see you back creating and what a stunner to show!
ReplyDeleteFabulous alteration, so much colour and texture. Great step by step pics.
Enjoy the rest of the weekend.
Avril xx
Love your fairy, she is beautiful! Valerie
ReplyDeleteWhat a great bargain find. Fab tutorial, love those techniques- especially that gold crackle. x
ReplyDeleteOh my goodness Julia, this is utterly fantastic! So many techniques - thanks for sharing the how-to, it is so worth seeing how much work goes into a wonderful piece of art like this.... I just love the wonderful crackling and the gorgeous colour you used. Stunning!! Hugs, Anne x
ReplyDeleteNow THAT is how to come back with a bang Julia!!! STUNNING! You are a crafting genius lady. So glad you feel ready to play a little again. Thinking of you, huge hugs Jenny xxx
ReplyDeleteJulia it is lovely to see you creating once more.
ReplyDeleteThis is visually stunning, so bold and brimming with energy.
Wishes
Lynne
Wow you have certainly come back with a big WOW!! This is absolutely fabulous Julia - every bit of it and so very you. Thanks for all the wonderful step by steps - the transformation is amazing and your incredible creativity in what you use to decorate and paint is just stunning. I for one have really missed your wonderful creations, so lovely to see you back creating. Jennie x
ReplyDeletePleased you back and creating. This is wonderful with so many things to admire about it. I really lovely all of the colours.
ReplyDeleteChrissie x
Wow Julia what a fabulous transformation, it's stunning and so good of you to do a step-by-step, I wouldn't have a clue where to start doing something like this! So lovely to "see" you again too! Xx
ReplyDeleteBrilliant!! Love the vibrant colors. The rusted wire really gives it a second dimension...love everything about it!
ReplyDeleteThis is fab Julia and you know what it puts me in the mind of - one of those fabulous carnival outfits that they wear in Rio. Gorgeous colours and a wonderful transformation. Margie x
ReplyDeleteWow, so many techniques on this dressform with a TOP result Julia...this is ART lady...
ReplyDeleteOh wow what an amazing fairy creation, beautiful colours and design and so creative. Glad you are back my friend.
ReplyDeletehugs {brenda}x0x
LOVE the way you colored her! The dress is fabulous...oh the texture and color!
ReplyDeleteyou have certainly rocked the theme and the timeworn techniques! there is so much to love the crackled flowers nd wings, the rust but boy I love love love that skirt! that is one super cool make! hugs Trace x
ReplyDeleteFabulous!!! Love the skirt! xxx
ReplyDeleteWelcome back, Julia - and you've rocked this one out of the park! I'm not sure about Faerie - warrior goddess is more like it... but that works for me in terms of faerie lore (none of this whimsical Disney pinkness - faeries are dangerous!)... Fabulous techniques, and a brilliant step-by-step through your process to this extraordinary creation. Thank you!!
ReplyDeleteAlison xx
What a transformation Julia. Your fair maiden looks very Joan of Arc to my eyes. Love all the brightness and the combination of metal and crackle too. She won't be destined for the Op Shop now!
ReplyDeleteHow cool is this ?! Such a wonderful piece of art.
ReplyDeleteWowwwww Julia this is à great pièce of altered ART
ReplyDeleteLove very detail.
Thans for showing us how you made it.
Greetings Janny
What an amazing piece of art! You have used so many different techniques with such a stunning result. Thank you for your fabulous 'how to step-by-step'. This is certainly for a faerie with attitude! Love it! Have a great weekend. Cheers, Di
ReplyDeleteHey Julia, this is FANTASTIC make over, I loooooove the dress, the crackling, the hinges, stunning, excellent tutorial too, thanks so much for sharing your creativity and inspiration, have a wonderful weekend..
ReplyDeleteOh, she must have been a joy to make! Love those wings and the buckle pieces... fantastic!
ReplyDelete