Today sees a new challenge at
Anything But A Card. This is #8 and our theme is 'Celebrating The Light or Seasonal Holiday'. I do hope you pop over to the blog and have a look at what the other team members have made and even more than that, I hope you may find time to put in a little entry. Our last theme didn't seem to be quite so popular with you all but I suspect that many of you will have already made something that's suitable for the current challenge! We'd love to see you there and you never know, you might be chosen as one of our winning artists!
For my pieces this time, I chose the second option which is 'Seasonal Holiday' mainly because I love Christmas crafting and by making these two little gift holders, it means I've produced much needed packaging for Christmas presents!
I've used the Tim matchbook die which you have probably spotted around blogland being used for the very same purpose which I've chosen to utilise it for today. I usually give my Neice and Nephew gift cards because they're in their twenties and can then select something far more appropriate than Auntie Julia could ever choose!
I've attempted to make one gift card holder very girlie and the other more masculine for obvious reasons! Here they are and I should warn you I've had to use quite a few photos:
 |
| The 'girlie' gift card holder. |
 |
The rose is made from tattered floral die cuts coloured with dylusion spray and Tim's glitter. Some gold cord and charity shop beads were added to complete the look.
The matchbook die cut was embossed with a Tim snowflake folder, painted with layers of acrylic, gold paste applied followed by two step crackle. The cracks were emphasised with acrylic paint. |
 |
| More of the gold cord was used to make the ties to close the matchbook. Some gold lace was sandwiched between the outer and the inner lining card. |
 |
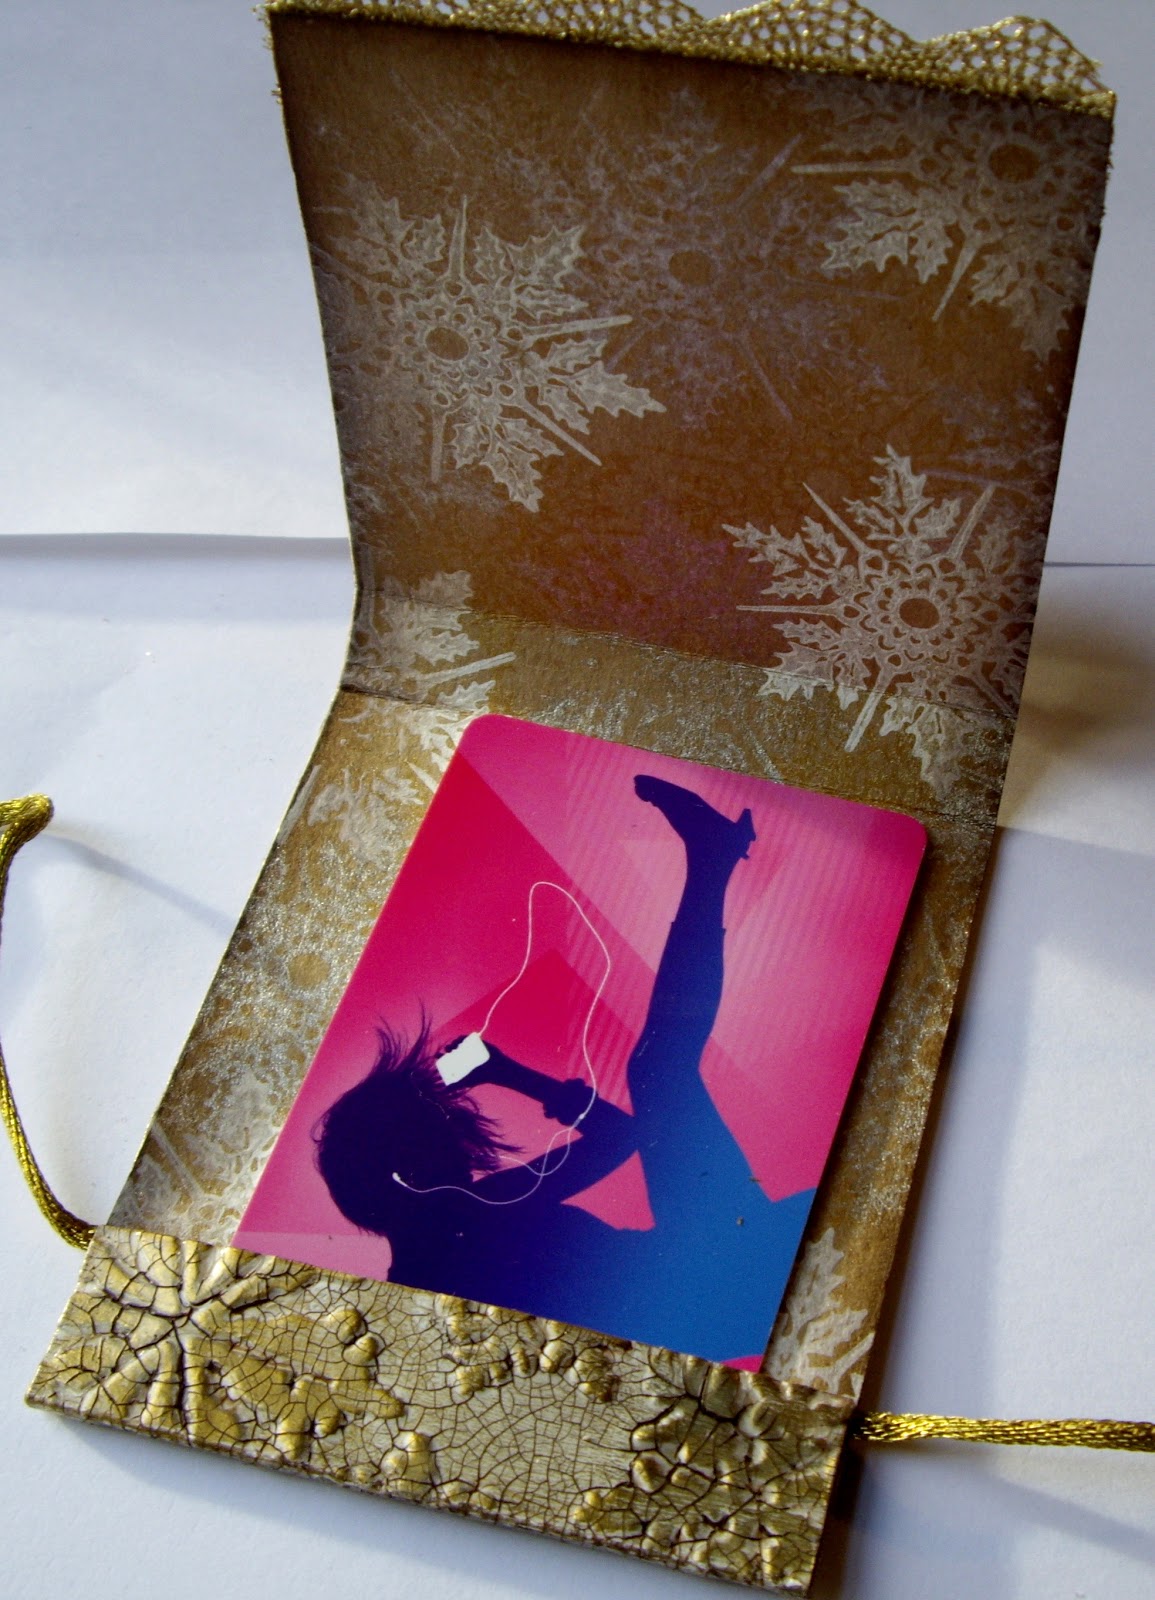
| The gift card fits snuggly in the little pocket. |
 |
| The lining was cut from kraft card. The surface was stamped with a free CS stamp using metallic distress stains and white acrylic paint. Walnut stain distress ink was used on all edges. |
 |
| After the gift card has been spent, the holder could be used to hold post it notes - they will need to be firmly fixed in place. |
 |
| The 'boy' version of the gift card holder. This was made exactly the same way as the first, but different colours were used, no gold paste and the holder was decorated with embossed snowflakes. Before applying the two step crackle, the embossed painted card was lightly sanded to give a shabby look. Jute plaited braid was used to make the tie closure. |
 |
| The embossed punched snowflake on the front of the gift holder. |
 |
| Kraft card was used to die cut the edging for this holder. The edges were sponged with distress ink. |
 |
| The gift card in position. |
 |
| The lining was made in the same way for both holders. On the boy version, a snowflake was stamped and embossed. |
 |
The post it note pad in position.
Thank you so much for bearing with me and looking at my work. I love the 'girlie' holder the most but I'm very pleased with the shabby look of the 'boy' holder with the jute braid. Let's hope my Neice and Nephew are pleased with them too! Let me know what you think.
|


wonderful!
ReplyDeleteHi Julia, both holders are beautiful, love the crackling and the embellishments on the gold one are gorgeous. But, I love the second one best as it is blue and silver, my fav colours at the moment and the snowflake stands so beautifully proud. A brilliant idea to use as gift card holders. Hugs, Anne x
ReplyDeleteWow Julia - these beautiful wallets are a gift in themselves - the detail is fabulous. I love them both!
ReplyDeleteYour post made me smile, as I have just bought exactly the same I-tunes vouchers for my two eldest Grandchildren (a boy and a girl), aged 18 and 20! I also made a couple of wallets (nowhere near as nice as yours!), which are large enough to hold a chocolate bar as well.
Hope you have a wonderful Christmas - hugs, Sylvia xxx
these are stunning..and I have serious crackle envy...where did you get the fab crackle stuff from.? santa needs to bring me some......I love the snowflake detail..just yummy and I am sure they will be much loved hugs trace x
ReplyDeleteFab gifts Julia, especially love the male version.
ReplyDeleteSam xxx
This is very pretty, love the crackle look, too! Hugs, Valerie
ReplyDeleteStunning Julia, I love crackle look and even rose is so special!(I don`t know why, but I always love yours flowers)Really great gift!
ReplyDeleteThey are beautiful Julia, I will be using this tech on a couple of frames for my mum I think, will probably steal your colour combo. Both are stunning but I have to say I like the boy one ;) the blue snow flake really pops on the white
ReplyDeleteGlorious, Julia... your crackle effect is simply stunning, and though they're both wonderful, the Aged Teal snowflake captured my heart at first sight!! So, may I be an honorary boy please?! Have a wonderful week...
ReplyDeleteAlison xx
Very very beautiufl Julia.
ReplyDeleteLove the crackle look very very much.
Greetings Janny
These two are stunningly beautiful. I adore your crackle work with the embossing, and the snowflake and flower are just perfect for topping these off. As ever your attention to detail is superb. There is so much to look at here I keep having to scroll back up for another look!! ABAC are very lucky to have you as a DT member. Hugs, Jenny x
ReplyDeleteWow Julia aren't they wonderful !
ReplyDeleteVon ♥
They are both stunning & so inspiring Julia! I do love that 2 step crackle, it's fantastic!
ReplyDeleteAlison xx
Gorgeous!! Love that crackle! :)
ReplyDeleteGorgeous gift card holders ! Wow ! Love the textures, embellishments and the whole idea ! Great work, Shirleyx
ReplyDeleteI've never seen crackle like you do it! Would love to see a step out of your technique! It really looks like crackled porcelain from china long ago. Gorgeous make! So pinning this!
ReplyDeleteStunning, the crackle effect is wonderful as is all the other detail on both gift card holders.
ReplyDeleteSylv x
WOW!!Very BEAUTIFUL!!Stunning!
ReplyDeleteHave a wonderful Monday,
Migdalia
The crackle effect is amazing again Julia...what a great project. Love the smart and creative details! You're so talented!
ReplyDeletehugs, Alie :-)
Wow, a fabulous project with great details. Fantastic crackle effect.
ReplyDeleteIt's exquisite! You're the first I've seen to use that die as gift card holder... such a great idea, and as you say, they can always pop in the post-its afterwards. Thanks for sharing. I love it!
ReplyDeleteThese are sooo cool! I love the textures and colors...what great gifts!
ReplyDeleteThe texture you have achieved is superb Julia. I am sure your gift holders will be treasured long after the gift card is gone. I am promising myself to have a serious play in the New Year to see if I can emulate your crackling and rusty techniques too! Love it.
ReplyDeleteThese are simply amazing, Julia!
ReplyDeleteAbsolutely wonderful! Love the crackled effect and that lovely rose!
ReplyDeleteLove both of these. The crackle glazed embossed background is most effective. Lovely dual use for the little folder, too! A beautiful job all round.
ReplyDeleteShoshi
These are absolutely amazing! I love the crackle finish and that rose is gorgeous! Hope you had a wonderful Christmas!!
ReplyDelete