Monday, 23 June 2014

Hearts For Stampendous And DecoArt

 Hello everyone. Today I am honoured to take part in a blog hop with Stampendous, DecoArt and Princeton Artist  Brushes. There is lots of information to absorb so you may need to make a coffee/tea before you start!

2014_06_decoart


Here's the introduction to the hop:

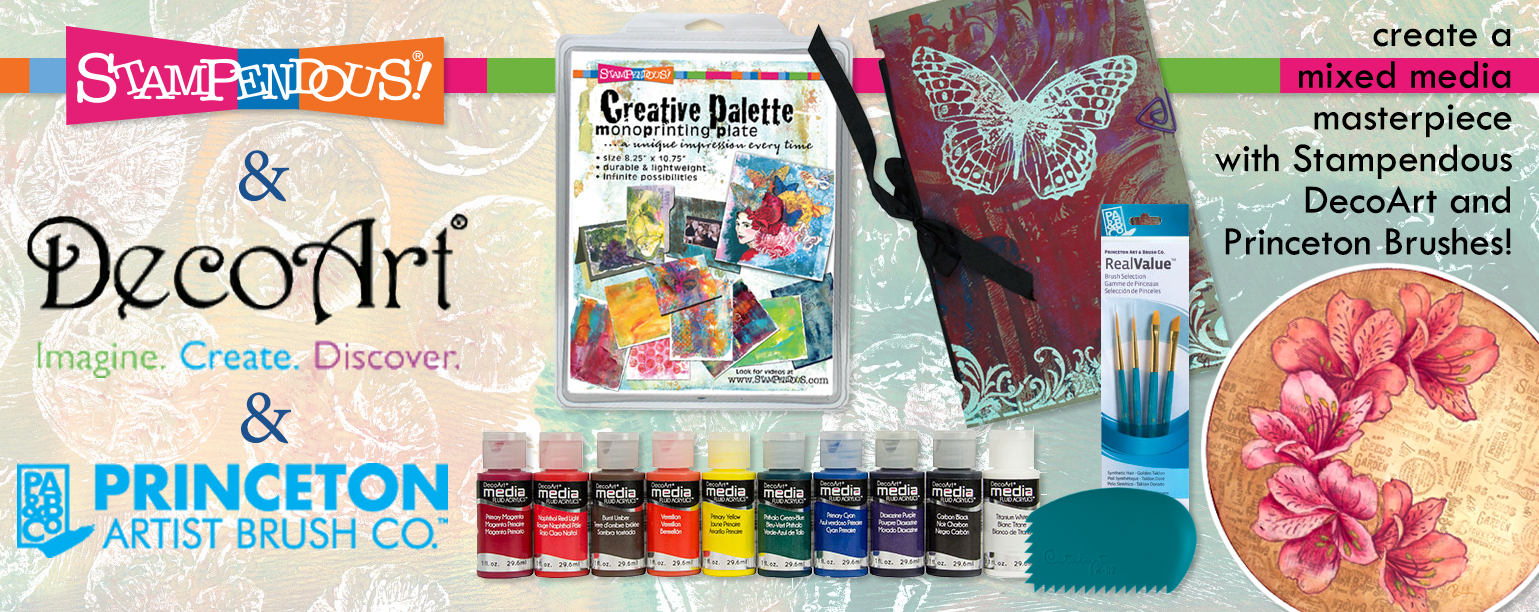
'Our great friends at DecoArt , Princeton Brushes, and inspired by Willow Wolfe are joining with us this week to show you what you can do with stamps and acrylic paint! You'll be amazed how these simple craft items make amazing things! Artists from all over the world will be playing with Stampendous, DecoArt, and Princeton. Prepare to be amazed!

Of course, there are prizes! DecoArt is sending three sets of their Media Fluid Acrylics, Princeton Artist Brushes, through Willow Wolfe, is supplying a Select Brush Set and a Catalyst Wedge, and we'll be adding a Stampendous Creative Palette so you can practice all the great techniques you'll learn this week!'

There is also another treat for all you blog hoppers. The amazingly talented Andy Skinner (Creative Director for DecoArt amongst other totally creative things!) has produced  a piece of art which will go to one lucky person who comments on the blogs this week. The name will be drawn on Thursday and announced on Friday - wish I could comment too! Here's the gorgeous prize:

A mixed media piece using DecoArt Media Products.

For today's hop, I decided to alter a wooden heart tag using products from Stampendous and DecoArt:


I made a print using the Stampendous Creative Palette and three of their wonderful rubber stamps and DecoArt Media acrylic paint. I used an interference colour to subtly change the appearance of the print. I love the interference gold from DecoArt! 
I decided to use a wooden heart shape so prepared it first with several coats of DecoArt gesso.

The print was glued onto card and the heart was used to cut out the exact shape required. This piece was then glued onto the wooden heart.
DecoArt have brought out a wonderful new Media range and one of my favourites is this translucent white paint. I used it to tone down the magenta on the print. Note how the design still shows through clearly.

The remainder of the print was used to die cut some flower pieces. The piece at the bottom right is the scrap from the cutting process. I cut this down to a small margin to use behind the flower. The edges of the die cuts were edged with dark ink. Some DecoArt crackle glaze was added when the flower pieces were dry. Burnt umber was applied once the glaze was dry.

The flower was constructed and applied to the tag. 
The centre of the flower was created from a rusty bell and some twine. The bell was first flattened with a hammer!
The scrap from the die cut was coated with a further layer of DecoArt Interference paint followed by some Crackle glaze.
Some die cut 'trellis' was cut from card painted with warm cream Traditions by DecoArt. This was followed my more crackle glaze. A black pencil was used to shade some areas of the print and tone the colour down.
Rusty wire was curled and used here there to complete the heart.
I made a heart from Fimo clay. This was stamped whilst still soft and allowed to dry. When dry, the heart was painted with DecoArt Metallic paint, followed by a wash with carbon black Traditions paint, then finally it was crackle glazed.
The word Heart was made on a little old label making machine.

Hope you like my first blog hop piece! For more details of the hop, scroll down for all the information. Remember, there are prizes to be won even for those in UK so why not click on those links and get started?

Visit each blog, leave a comment! • Like Stampendous, DecoArt, Princeton Artist Brushes and inspired by Willow Wolfe on Facebook! • We've also got a Pinterest Board started!

Please repin our projects onto your boards and be sure to tag us when you do (#Stampendous, #DecoArt, #PrincetonArtistBrushes, #byWillowWolfe) - we'll be tracking. Your comments on the designers' blogs are your entry into the drawing! We'll randomly choose three blog posts from all the designer posts this week and then choose a winner from each to receive a prize package. BUT I have a few bonus goodies hanging around my office for some lucky people who SHARE our Facebook posts and Pinterest Pins! We'll draw three winners with U.S. Mailing Addresses. BUT because we have so many international players this time, DecoArt has agreed to mail out three nice sample packages to international commenters as well. YAY! Ready for your trip around the world??? Let's get Hoppin!

Claudia Neubacher (Vienna, Austria)

Kristine Reynolds (California, USA)

Iliane de Fockert (Elly) (Niedersachsen, Germany)

Julia Stratford-Wright (Suffolk, UK)

Julie Robertson (UK)

Asia King (Oxford, England)

Jessa Plant (Arizona, USA)

Kathi Rerek (New Jersey, USA)

A few of the bloggers this week are new to hopping, so if you have an issue with any of the links, here's a little tip! If you get a page that says "Sorry that Page is not here" or something similar, try clicking on the header of the blog, or look for something that says Home. The hop page should be near the top of the day's posts. We will fix broken links as the day goes on, as well, so check back here if you are really lost.
The Official Rules are here.

Sunday, 15 June 2014

Summer Lovin' At Anything But A Card. . . . . . .

Hello everyone. What a busy few days I've had! seven hours travelling to see my daughter's degree show in Plymouth, Devon and of course, another seven hours back again - totally worn out but I was so proud of her! Here's one of her pencil drawings before it was mounted and framed:

Hard to believe it's done in pencil isn't it? 

Just had to share that but let's get back on track now. I am showing my DT work for Anything But A Card today in the third week of their challenge entitled Summer Lovin'. If you haven't already joined in there, click here and see the inspiration provided by the rest of the ladies for you. You won't be disappointed I promise you!

This is how Susan, our lovely leader, describes the challenge for you:

A celebration of all things summer! Think summer weather, vacations, sunflowers, beach parties, cold drinks and Barbeques... bright colors and wide open sky. Pool parties all day, then sitting in lawn chairs sipping drinks and watching the night sky. 


I've made the image large because the details are very subtle on this tag and could be missed in a smaller image.
The base of the tag is watercolour paper which was coloured with Dylusion ink sprays and Perfect Pearls spray. Images were then stamped using a variety of distress ink colours. Each fish was then enhanced using a watercolour pencil but no water. I love these pencils because they give such rich tones to the work - wet or dry.

The fine textured yarn was coloured with the remains of the Dylusions spray from the craft mat. I included the yarn to convey the idea of waves and motion.


You can see quite clearly here how the watercolour pencil was used to enhance the fish outline - I love adding these pencils to distress inks.

The bathing beauty was stamped onto smooth card in archival ink and then coloured with distress inks hopefully achieving an ombre effect in the background.

The edges of the tag were finished with some prussian blue ink which is a gorgeous colour.

The crinkle ribbon was coloured using a mixture of Dylusion ink and Distress ink. It was then scrunched into a ball and dried with a heat gun.

The end of a paintbrush protector was used to stamp 'air bubbles' on the background using Distress ink.

The fish at the bottom was stamped onto some scraps of the watercolour paper coloured with the Dylusion inks. The paper was stuck onto some Tando inchies and then they were laid close together on the craft mat. Once in position, the fish was stamped onto the inchies.

The inchies were joined to the main tag using some cotton seam binding which was also coloured with Dylusions inks, Distress inks and some Perfect Pearls spray.
Quote was made using a label maker and clear tape. This was glued to a coloured paper scrap, applied to card and attached to the cotton tape above the inchies.


I have added some images with no caption. I hope they give you some idea of the amount of shimmer and depth that has been achieved in the background.

Hopefully we'll see you at Anything But A Card with your interpretation of our June theme: Summer Lovin'.
Can't wait to see what you come up with for this great challenge. Please remember to read the small number of rules which you'll find on the blog.

Thank you for joining me and pease do have a look at Anything But A CArd such inspiration awaits you!
Wednesday, 4 June 2014

Tando Sponsor Spotlight At Our Creative Corner. . . . .

I've got a new post up today at Our Creative Corner using some wonderful Tando chipboard flower shapes. Here's a little sneak peek of my project:

I'd really love it if you popped over to Our Creative Corner and had a look at the full project. Don't forget we have a new challenge running called 'Flaming June' and the design team have come up with some wonderful inspiration for you.

Sunday, 1 June 2014

Flaming June At Our Creative Corner. . . . . . .

Hi everyone. It's my turn to host the challenge at Our Creative Corner this month. I'm excited to bring this challenge to you because I chose a beautiful painting as the inspiration for your work:


Flaming June by Lord Frederic Leighton 1895
Now for some, this is an overtly romantic image which perhaps fails to ignite their creativity. However, love it or not, I don't think anyone can fail to be moved by the quality of the painting and that glorious range of orange tones. So, for your challenge this month, you are asked to make a project which features orange as the main colour on your work. You may also take inspiration from anything else in the painting that appeals to you.

We have a new sponsor this month, the wonderful Tando company who produce so many amazing chipboard items just begging to be altered. They also have a range of other items including a range of quality stencils which can be used for endless styles of work. Never used Tando products before? Click on the image below and have a good look around their website - I dare you not to spend money once there!


Tando Creative


Here's what I made this month using die cutting and stamping as my main techniques. Oh, of course, it wouldn't be me without a little crackling so that's there too! I should warn you that there are lots of photos so get a drink and put your feet up before you start!

A gift bag with matching gift label and a small matchbox style gift box. 

Gift bag and matching label.

Matchbox style gift box with floral embellishment.

View inside the gift bag showing stamped and inked reverse and matchbox in situ.
Various die cut florals. Inked with distress, stamped with distress, edged with versamark followed by gold EP then shaped before assembly. The flower centre is made from fimo clay. Shaped and stamped to create depth then antiqued with DecoArt acrylic paints.

A die cut flourish is coloured with distress ink and finished with gold EP as before.

More fimo clay was cut into heart shapes, stamped with a clean stamp then when dry, antiqued with DecoArt acrylic paints. The crinkle ribbon was coloured with distress stains and dried. When applied to the bag, the two hearts hold the ribbon in place - on both front and back of the bag.
Close up view to show detail on fimo heart.
A hitch fastener was covered with DecoArt One Step crackle. When dry some acrylic paint was applied to highlight the cracks. Sadly, I can see little fibres from a baby wipe very visible in this image!!

The inside of the box is lined with card which has been stamped with distress ink, embossed with clear EP then inked with a lighter distress ink shade. Some areas of the stamped image had the colour removed/lightened with a waterbrush.
A die cut gift label was stamped and coloured using the same techniques as before. Some tiny punched flowers were made from the scrap pieces of inked card. Each flower was shaped and a small jewel was added to the centre. The edges were roughly embossed with gold powder and some gold embroidery thread attached to tie the tag onto the gift.
Close up to show the ink removal on certain areas of the stamping.
Time to reveal the contents of the little box! I decided to make some small treasures on a favourite theme.


A purchased rusty bell which had some rusty wire attached. Two pieces of miniature art and clay heart pendant.

The small piece of art on the left was made by stamping the image onto frosted shrink plastic and a hole punched for the wire. The piece was then shrunk using a heat gun. Rusty wire was twisted through the hole and finally a Krylon pen was used around the edges.
The heart was made by rolling out fimo clay and cutting a heart shape. A stamp was then applied to the clay to provide a relief pattern. The heart was baked then painted and antiqued using DecoArt acrylic paints and crackle medium. The rusty wire hanger was attached to the back of the heart and covered.

The final treasure is a little tile made with clear shrink plastic. The image was stamped onto the plastic as before. The plastic was shrunk with a heat gun. Alcohol ink was applied to the reverse of the plastic followed by a piece of metal tape. Finally some utee was melted on the face of the tile to give a more luxurious finish.


I do hope you enjoyed looking at this make. Not so much paint and crackle this time but still fun to make! I do hope you go over to Our Creative Corner and see what the other members of the DT have come up with - you're certainly in for a treat! 

It's your turn then to come up with a mainly orange creation and link up at Our Creative Corner. There's a wonderful prize available from Tando if your name comes up in the randomly generated draw or you could be the challenge winner and feature on our blog next month - now there's a chance to showcase your amazing work! You may even be one of our top three talents - you have to enter to have a chance at any of these though.

Thanks so much for visiting. Enjoy your Sunday.