Thursday, 8 March 2012

Birds

I found a lovely blog called Tag Tuesday. Although I'm not a member I loved the theme and the work shown is gorgeously creative - such inspiration for me! Tags are one of my favourite projects to make as you can do so much in a small space and it doesn't take forever.  I'm going to ask if I can play along just as a visitor.

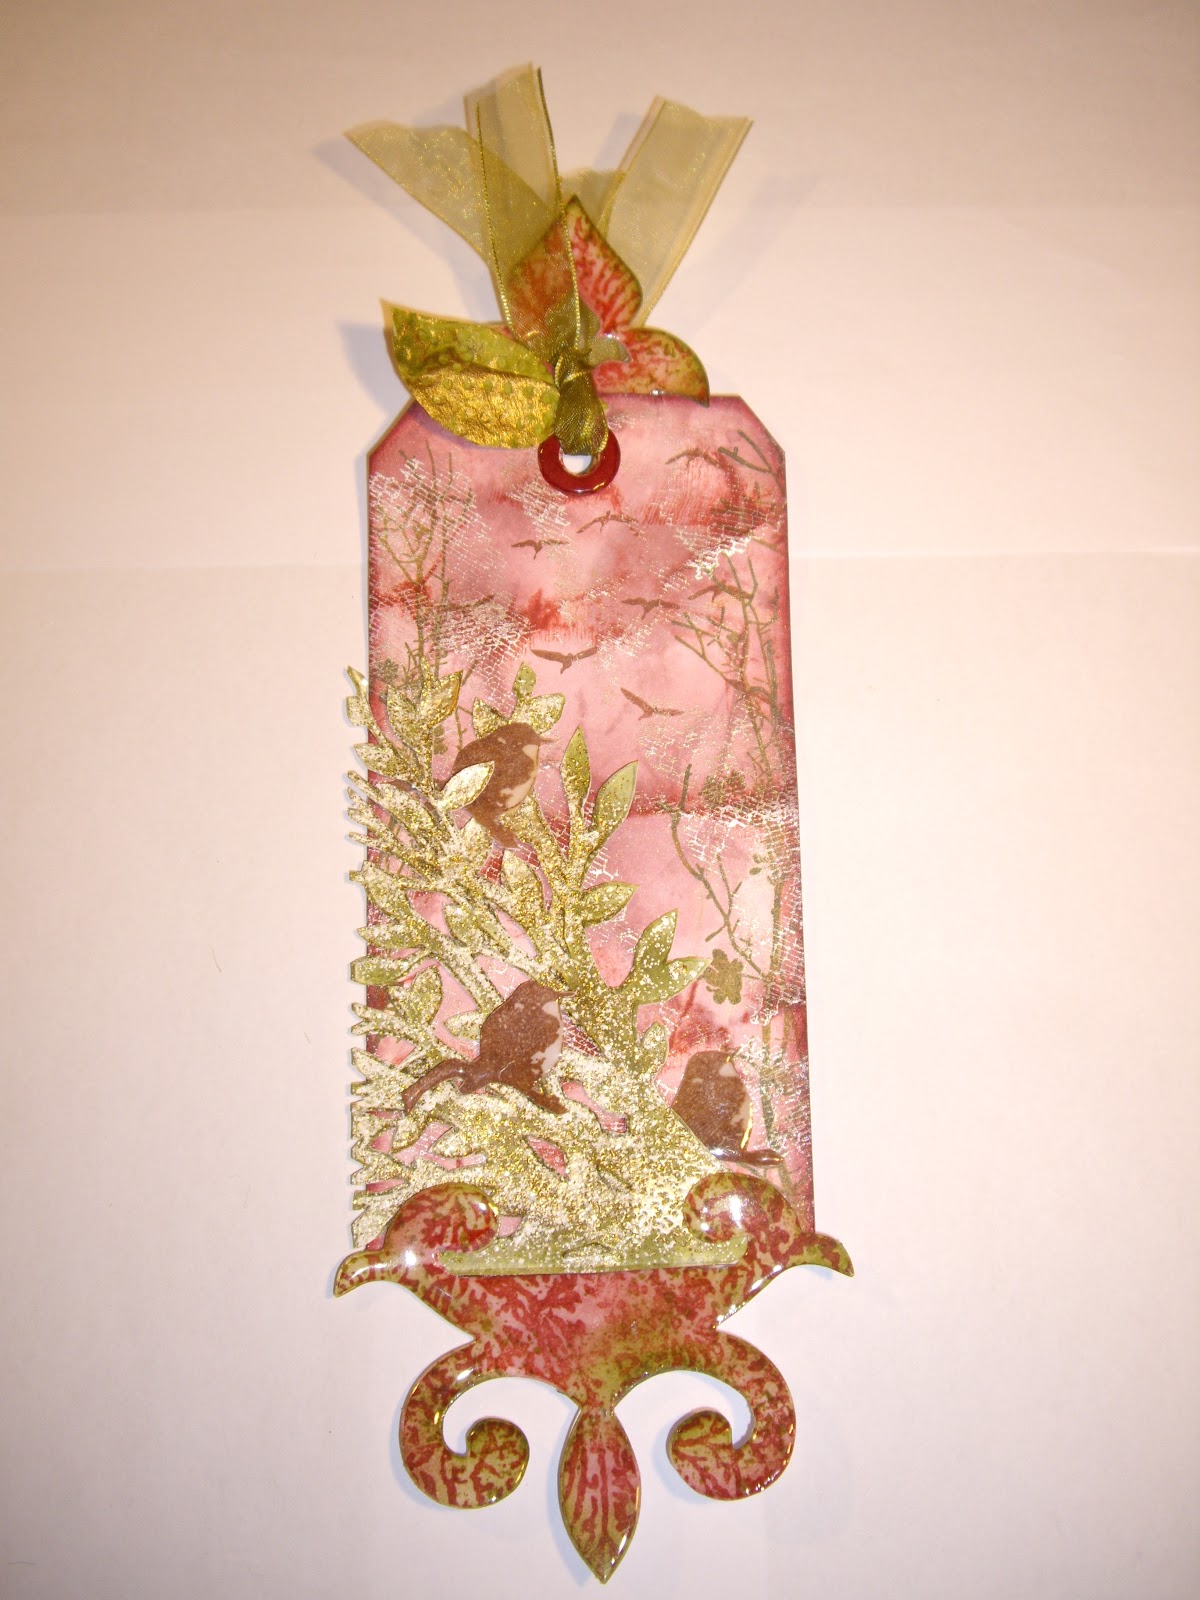
The theme for the tag is BIRDS. I love watching the birds in my garden, particularly the little robins. I have a lilac tree where tiny little wrens hide, flitting in and out. These were the inspiration for my tag. My bird stamp looks more like a magpie but I've used coffee archival to at least get the colour right - with lots of imagination I hear you say! I'm surprised I get any birds in my garden due to the magnificent Frankie who patrols all borders with great diligence - he's not as quick as he used to be and fingers crossed, hasn't caught a little feathered friend for quite some time!

The main elements made ready for assembly - blank die cut shows the decorative 'frame' I used at the top and bottom of the tag. I coloured the tag background - after scrunching it up - using Distress Inks, my only Distress Ink stain (Picket Fence), mesh design stamped in platinum Brilliance and greenery stamped using Versafine. I then ironed it as flat as I could but perhaps I should have used more pressure!


The finished piece - really need to improve my photograpy skills I think!
Detail of the lower frame made by stamping with Versafine, inking with Distress Inks and then two layers of Utee to make a smooth, glossy contrast to the texture on the main body of the tag. The frame at the top of the tag has been made in the same way.


The tree was made using an embossing folder piece which I cut out , inked and embossed using true white and gold to give light and sparkle. I've tried to place the little birds hiding in amongst the branches. They too were stamped, cut out and given two coats of Utee. (my apologies for a somewhat 'fuzzy' picture - reflects how I've felt in the last week!).
The top of the tag has a matching frame to the lower end, a kitchen towel leaf and for good measure, I inked the punched hole reinforcer, gave it a coat of Glossy Accents and finally tied some green ribbon through as a finishing touch.

Back From The Brink. . . . . . . .!

Been under the weather for the last week or so - too poorly for a few days to even look at my laptop! The last few days have seen me blog hopping and admiring lots of lovely work. I've even managed to do some craft the last couple of days and as usual I've got a few half finished bits and pieces. Let's hope something comes together! ( I have finished one tag which I'm quite pleased with though!).

Monday, 27 February 2012

Thank You Card

I've finally got round to putting my 'Cyprus Thank You' card on here! It's made using the same butterfly stamp shown on BJ's card and was made not long after that one - must have been inspired I suppose! Again, I've moved away from my normal choice of colours but I do like the fresh, clean look of this card. I think the colours are spring like and I have seen a challenge on the 'The Stamp Man Challenge' blog for colours of spring/Easter so I'll give it a go I think!
The completed card matted onto corrugated white card which has been inked with stormy sky. The background to the stamped image has been inked using stormy sky and antique linen which are rapidly becoming two of my favourite colours - along with victorian velvet of course. I left some areas almost white because I feel it makes the images stand out. I now wish I'd added more cut out butterflies!

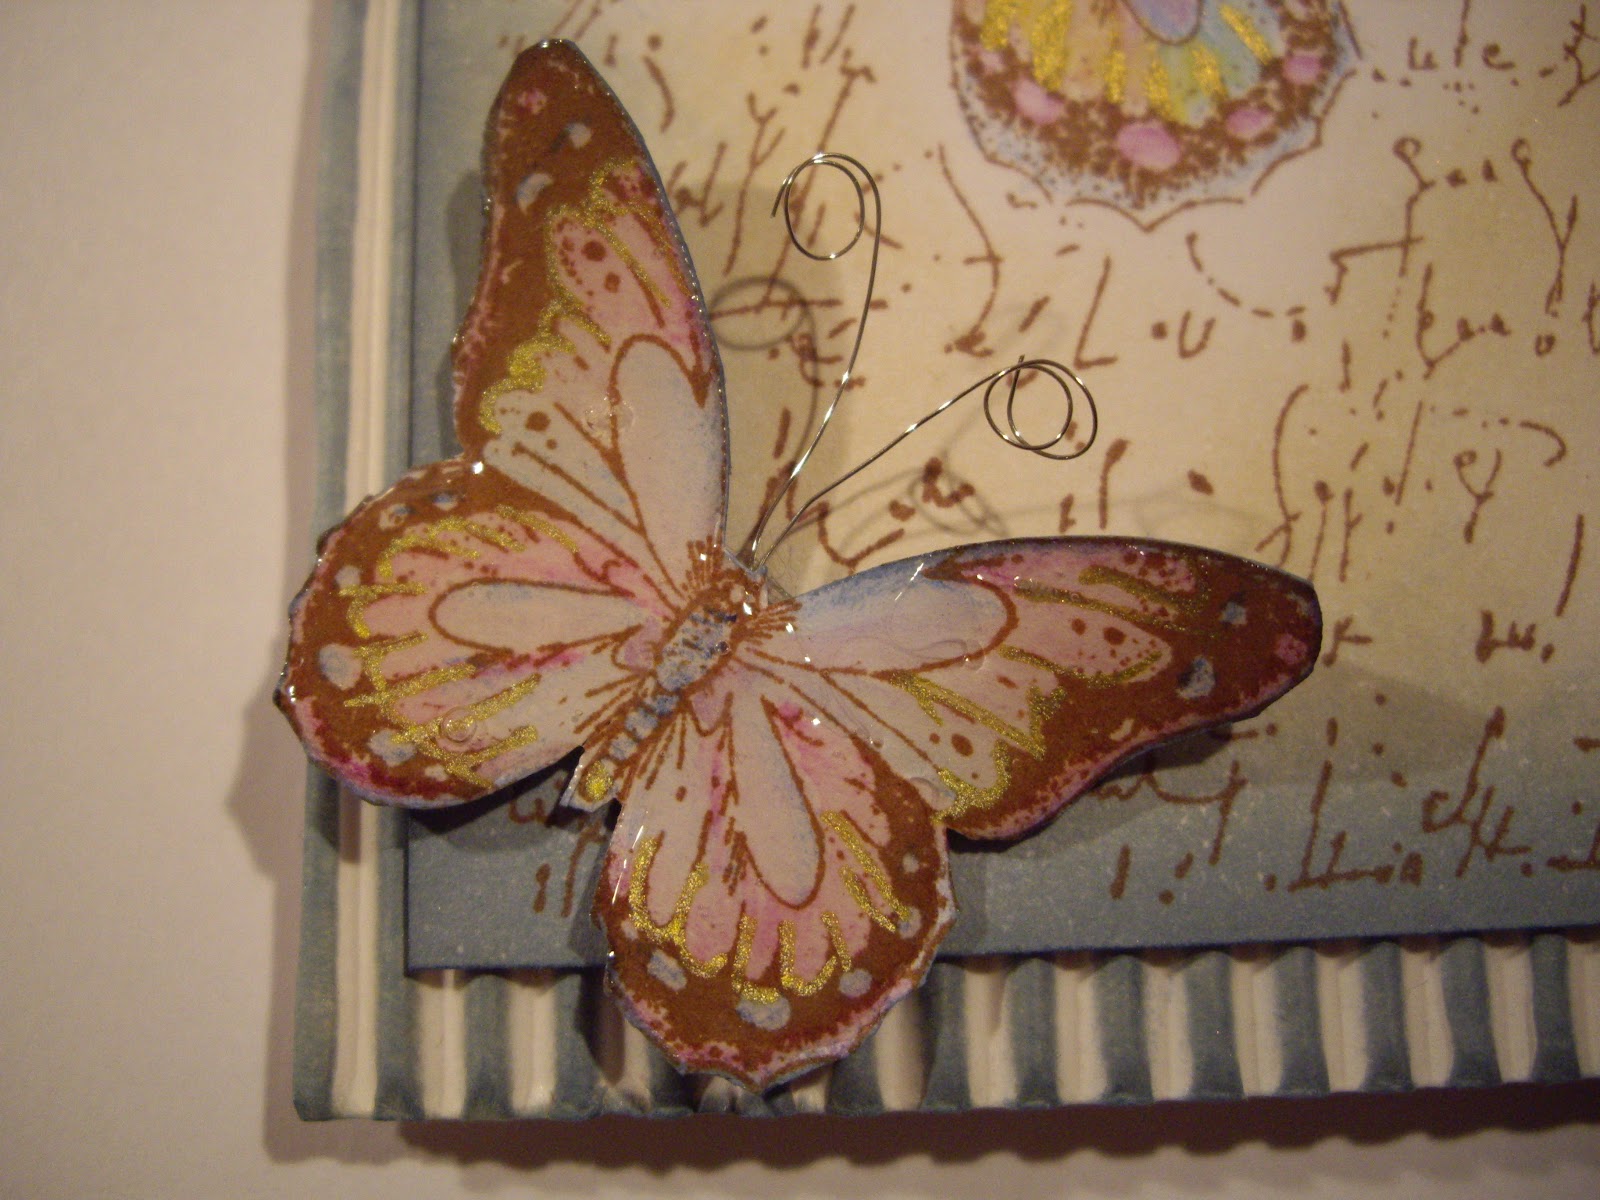
This butterfly was stamped, painted and cut out. I made some wire antennae and then  added glossy accents over the whole butterfly. It's then glued into place. I like the way the gold paint seems to shimmer - well, it does in real life but perhaps not when shown using my useless photography skills!

One part of the stamping which was done using archival coffee. Colour was added using water colour pencils and gold acrylic paint. I  used this method on all the butterflies.


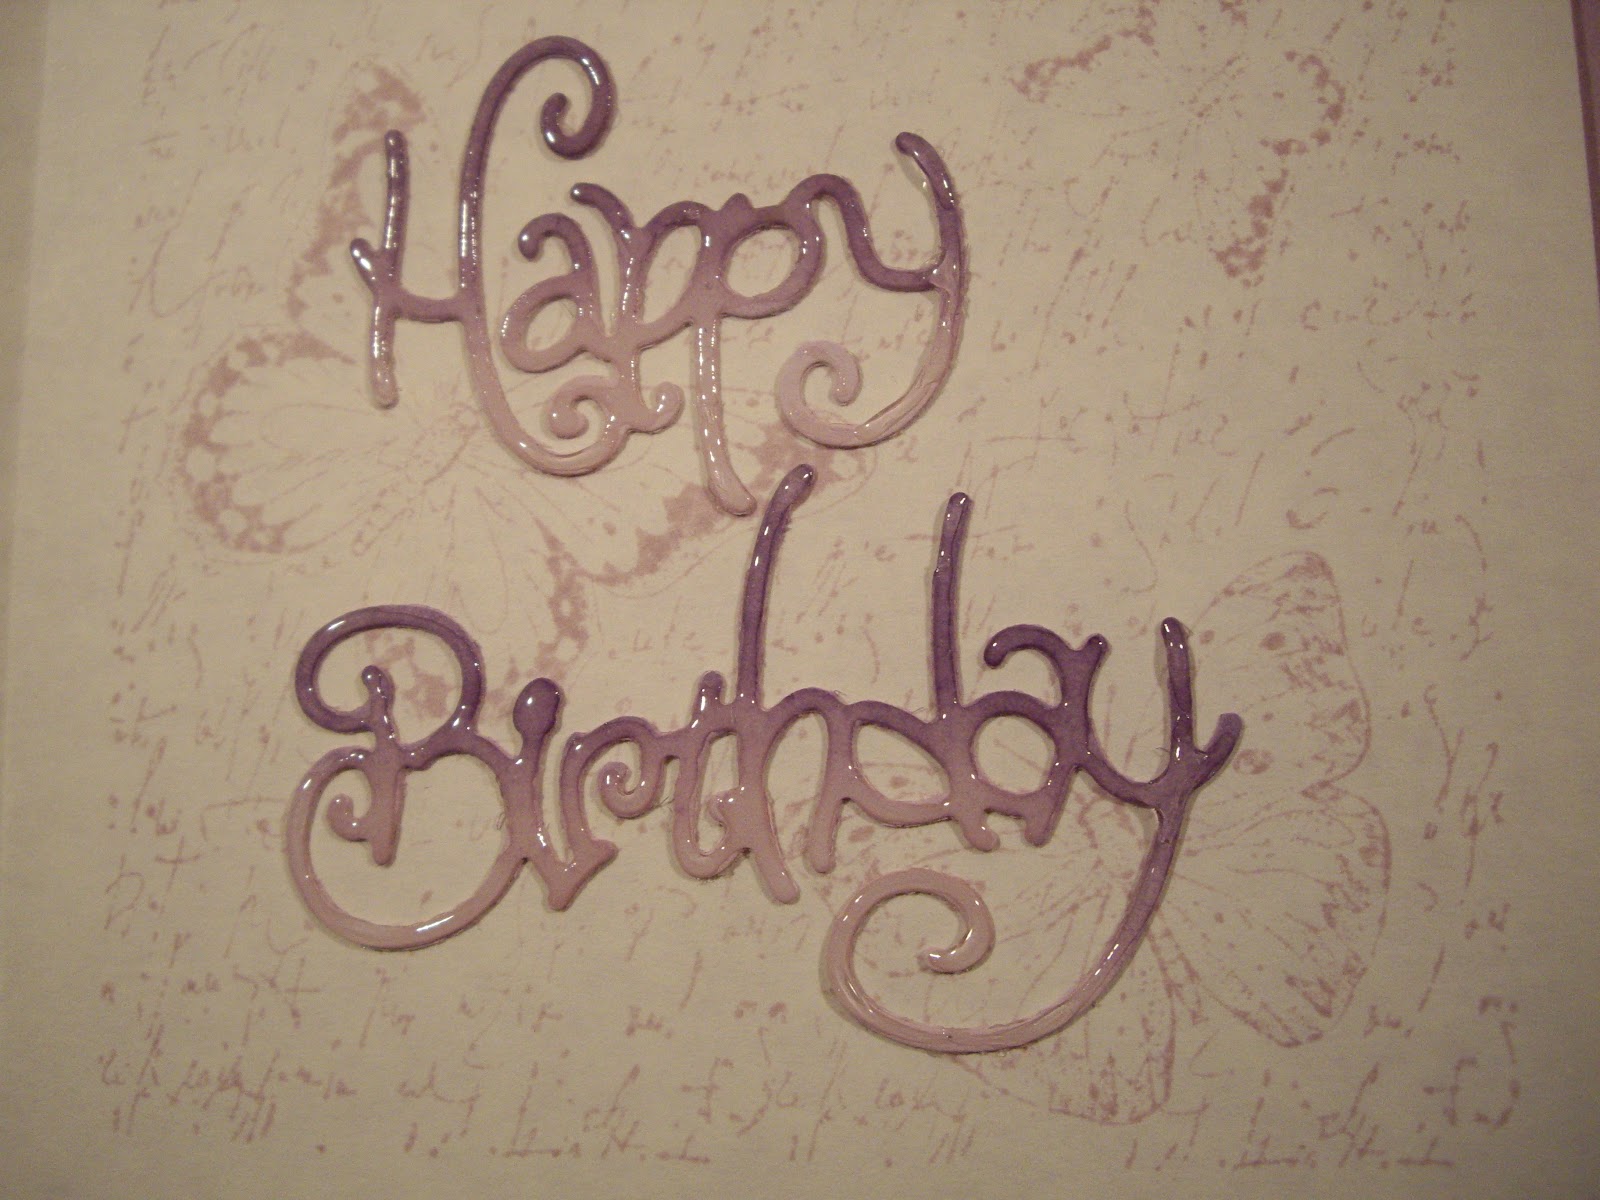
Die cut letters coloured using stormy sky ink which has been left lighter in some areas. Glossy accents was used to coat each letter before adding to the work.


I added a row of stamped butterflies to the envelope using versa magic then brushed on some  pale lilac cosmic shimmer mica to match with some of the water colour painting. I never know when to stop!

Sunday, 26 February 2012

Lovely Holiday

Had a fantastic time in Cyprus with Lillian and Chris - thank you so much to both. Saw some wonderful places and just being a five minute walk from the beach was heaven for me. I've missed crafting but did produce a painted stone for Chris and Lillian - it's a tradition they've started for their garden. Each guest is asked to collect a stone from the local beach and add their name and visit date with any other embellishment and design features they choose. A fab idea I think.  Sadly, I wasn't able to add any of my usual distress ink, acetate etc! Guess who forgot to take a photo of their stone?? I'll try and pinch a copy from his blog 'Set For Cyprus'. I really did love the country and when you are spending time with family who make the whole visit special, it makes for a wonderful experience. When I've finished unpacking, washing etc. I'll upload the pictures of the 'Thank You' card I took with me and left in my room yesterday afternoon - hope they liked it!


Here is my master piece created using Lidl's best acrylic paints -  yes, bought in Lidl's  near Larnaca! It looks just like my local shop and has many of the same products. I wasn't keen on the colours I used but it will look OK in the sunshine under the growing hibiscus hedge (at least I think that's what it was!). You can't see it here but the stone was a gorgeous salmon pink and the ones behind are the whitest stones I've ever seen. The beach was covered with the most wonderful array of stones in fantastic shades - loved it!


Wednesday, 15 February 2012

BJ's Birthday Card

Happy Birthday to my new crafting friend BJ. Had a remit for this card to include: butterflies, lilac, green, and dragonflies (I think that was it!) - not my usual thing although I love butterflies! Have only one butterfly stamp so out it came and I just had to start from there. No dragon flies except a couple of paper punched black ones left over  from daughter's card making days when she was younger. I used lots of distress inks, acetate, cosmic shimmer, watercolour pencils and a little bit of gold rub n buff on the black dragon flies. . . . . . .
PS since I've been back from holiday I notice that 'Try It On A Tuesday' has an acetate challenge so I'm going to enter my card in that.
Stamped background with archival ink and added colour using distress ink. Hand painted the butterflies.  The cute little dragon fly can be seen in the top left corner.

Embossed acetate placed over the stamping. Die cut, inked and glossy accented Happy Birthday

Inside: stamped image with distress ink and another die cut finished in the same way as the one on the front

Finished by matting onto cardstock with yet more distress. The embossed/painted acetate sits over the main part of the card framing the stamped, painted images.

The envelope got the treatment too just to finish the job!

Monday, 13 February 2012

Textured Tag

 I came across a challenge on the 'Stamp Man Challenge' site for a project with texture. I love adding texture to my work - my resources are still quite basic but out came the embossing powders, acrylic paint, acetate, beads, stamps, distress inks (of course!) and kitchen roll. Kitchen roll? Yes, it's there on my tag for all to see and I just hope it's not so obvious and takes at least a short while for you to spot! I'm going to enter the tag - may as well have a go - everyone tells me to!
Tag with some of the elements I love - the colour reproduction is slightly off as the green (peeled paint) really jumps out at you if you see the tag.
Die cut book plate with die cut flowers.
Debossed side of the paper with some extra embossing powder, embossed acetate coloured with gold acrylic ( I only have three colours -sad but true!).

After cutting, the book plate was coloured with distressed, stamped with green ink and then embossed with UTC. I popped two little gold gems in each of the book plate holes.

Close up view to show the embossed, painted acetate.

Die cut flowers which have been coloured with distressed ink, embossed with gold and true white. Beads have been added in the centre for texture and they haven't escaped the embossing powder either! My leaves are made from kitchen towel which I'd cleaned up with - couldn't waste all that lovely ink and acrylic!
I

Goodbye Next Door Neighbours!

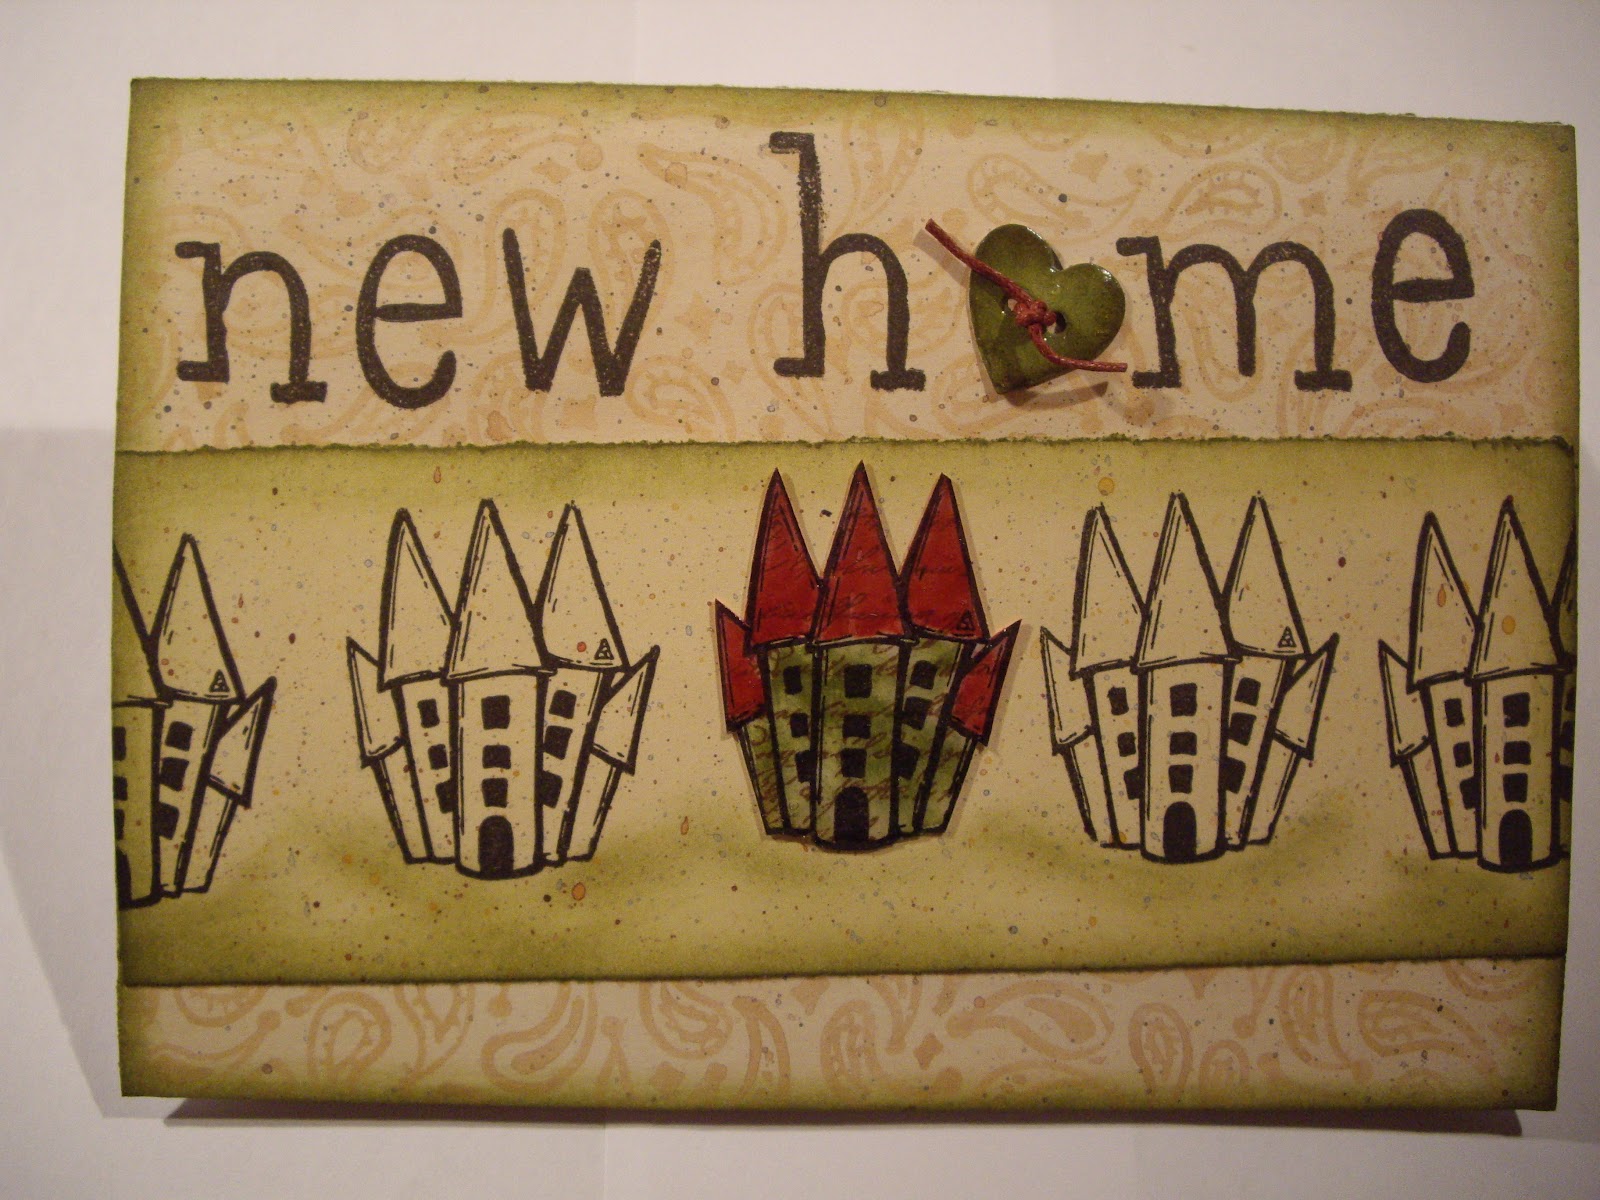
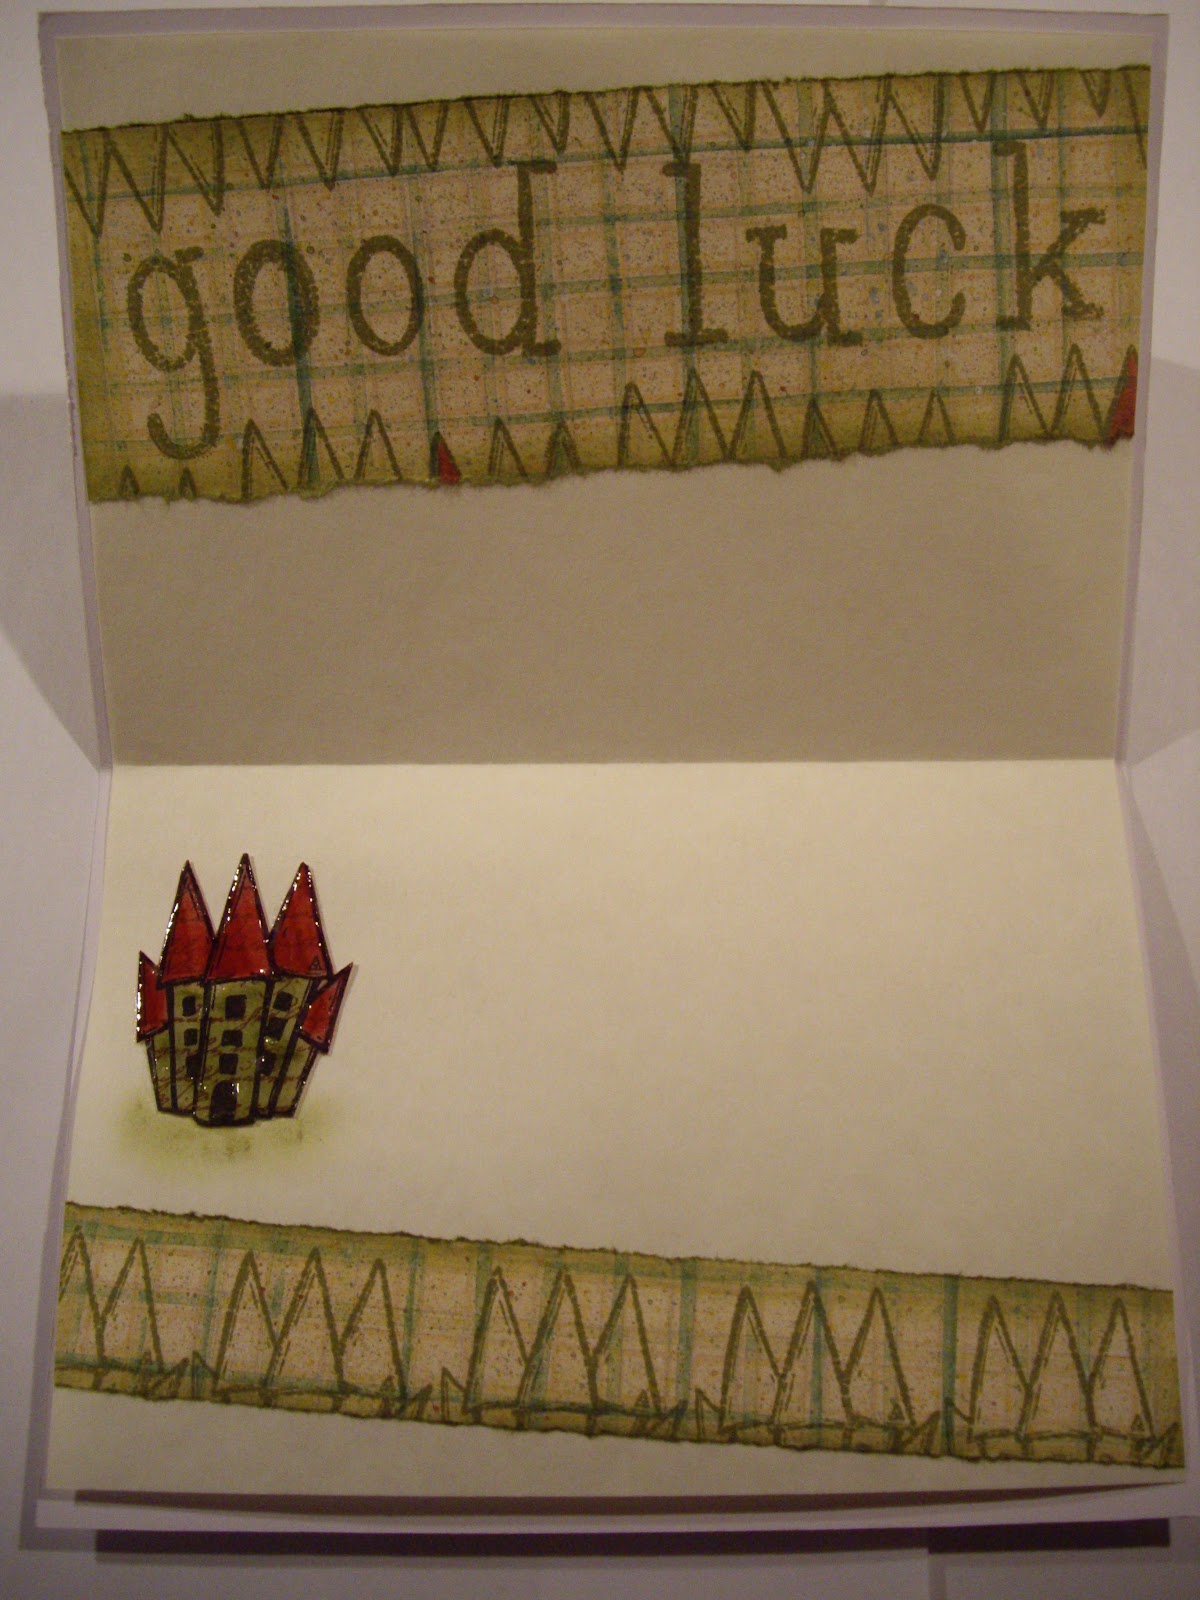
My neighbours of some nine years or so are off to live in Zurich this week. Today has seen manic packing, cleaning and all the other stressful things associated with moving. Obviously, I had to send them a card, so set to last week - no inspiration came! Eventually, I remembered that I had a free stamp from Craft Stamper this month with a strange little pointy castle like house image. I had a look at the designer examples they give for the free stamp and liked the one by Jo Firth Young. I haven't copied it but it was my starting point and, like hers, my strange little houses are in a row (hope she doesn't mind!).

I decided to use colours that aren't in my usual favoured palette and I'm sort of happy with the result. My neighbour has already opened the card and thinks it's fab so I suppose my goal was achieved! Can't help being hyper critical of what I do but aren't we all really?!

The completed card - for once I used printed backing paper which I've had for donkeys years!
I even stamped the envelope so it didn't look too bare!
I stamped some writing first on scrap card , then the house image.I coloured  it with distress inks and added glossy accents after I'd cut out the image. It's lovely and shiny but that doesn't really show here. I did two like this: one for the front and one for inside the card.


I die cut a button shape and coloured it with distress ink. The cotton cord in the button was also coloured with distress.

The inside of my card - sometimes I don't know when to stop I fear!!