Hello everyone, I'm so glad to be back in blogland after the trials and tribulations of 'the move'! My new craft room is set up and I intend to start using it a lot over the coming months!!
This is the first of two posts today - not my usual style but hope you can stick with me!
The challenge at
Our Creative Corner this month is set by our illustrious leader
Laura and what a wonderful challenge it is! Here's what
Laura has come up with for you:
For this challenge we are abandoning traditional Christmas colours and are giving Christmas a Vintage tone. No reds, no greens, just neutrals.
The challenge here is to use a neutral palette....so think about shades of creamy hot chocolate, glistening white snow, rich dark sherry and mince pies, ivory candles, rustic wooden logs, roasting chestnuts and brown paper packages tied up with string!
This Christmas we want you to make anything you like - Cards, ATC's, Tags, Scrapbooking, journals, Gifts, Altered art......anything you like....but please use only neutral colours from ice white, through to ivory and cream, beige to dark brown and black. You can also use metal embellishments, metal paints and stains.
Please Note - Your creation does NOT have to be 'Vintage style' - We would love to see Christmas creations in any style, but please keep to a neutral colour scheme.
How amazing is that for a challenge?! I couldn't wait to join in the fun and if you want to see what my very talented teamies have come up with, please click
here.
Here's my offering for Laura's challenge this month:
(I should warn you that this post is picture heavy - as always!)
I decided to use some wooden baubles I found online. I have altered both the front and the reverse of each wooden shape, hence the number of photos! (Sorry!).
 |
| Side One |
 |
| Side Two |
 |
| Side One |
 |
| Side Two |
 |
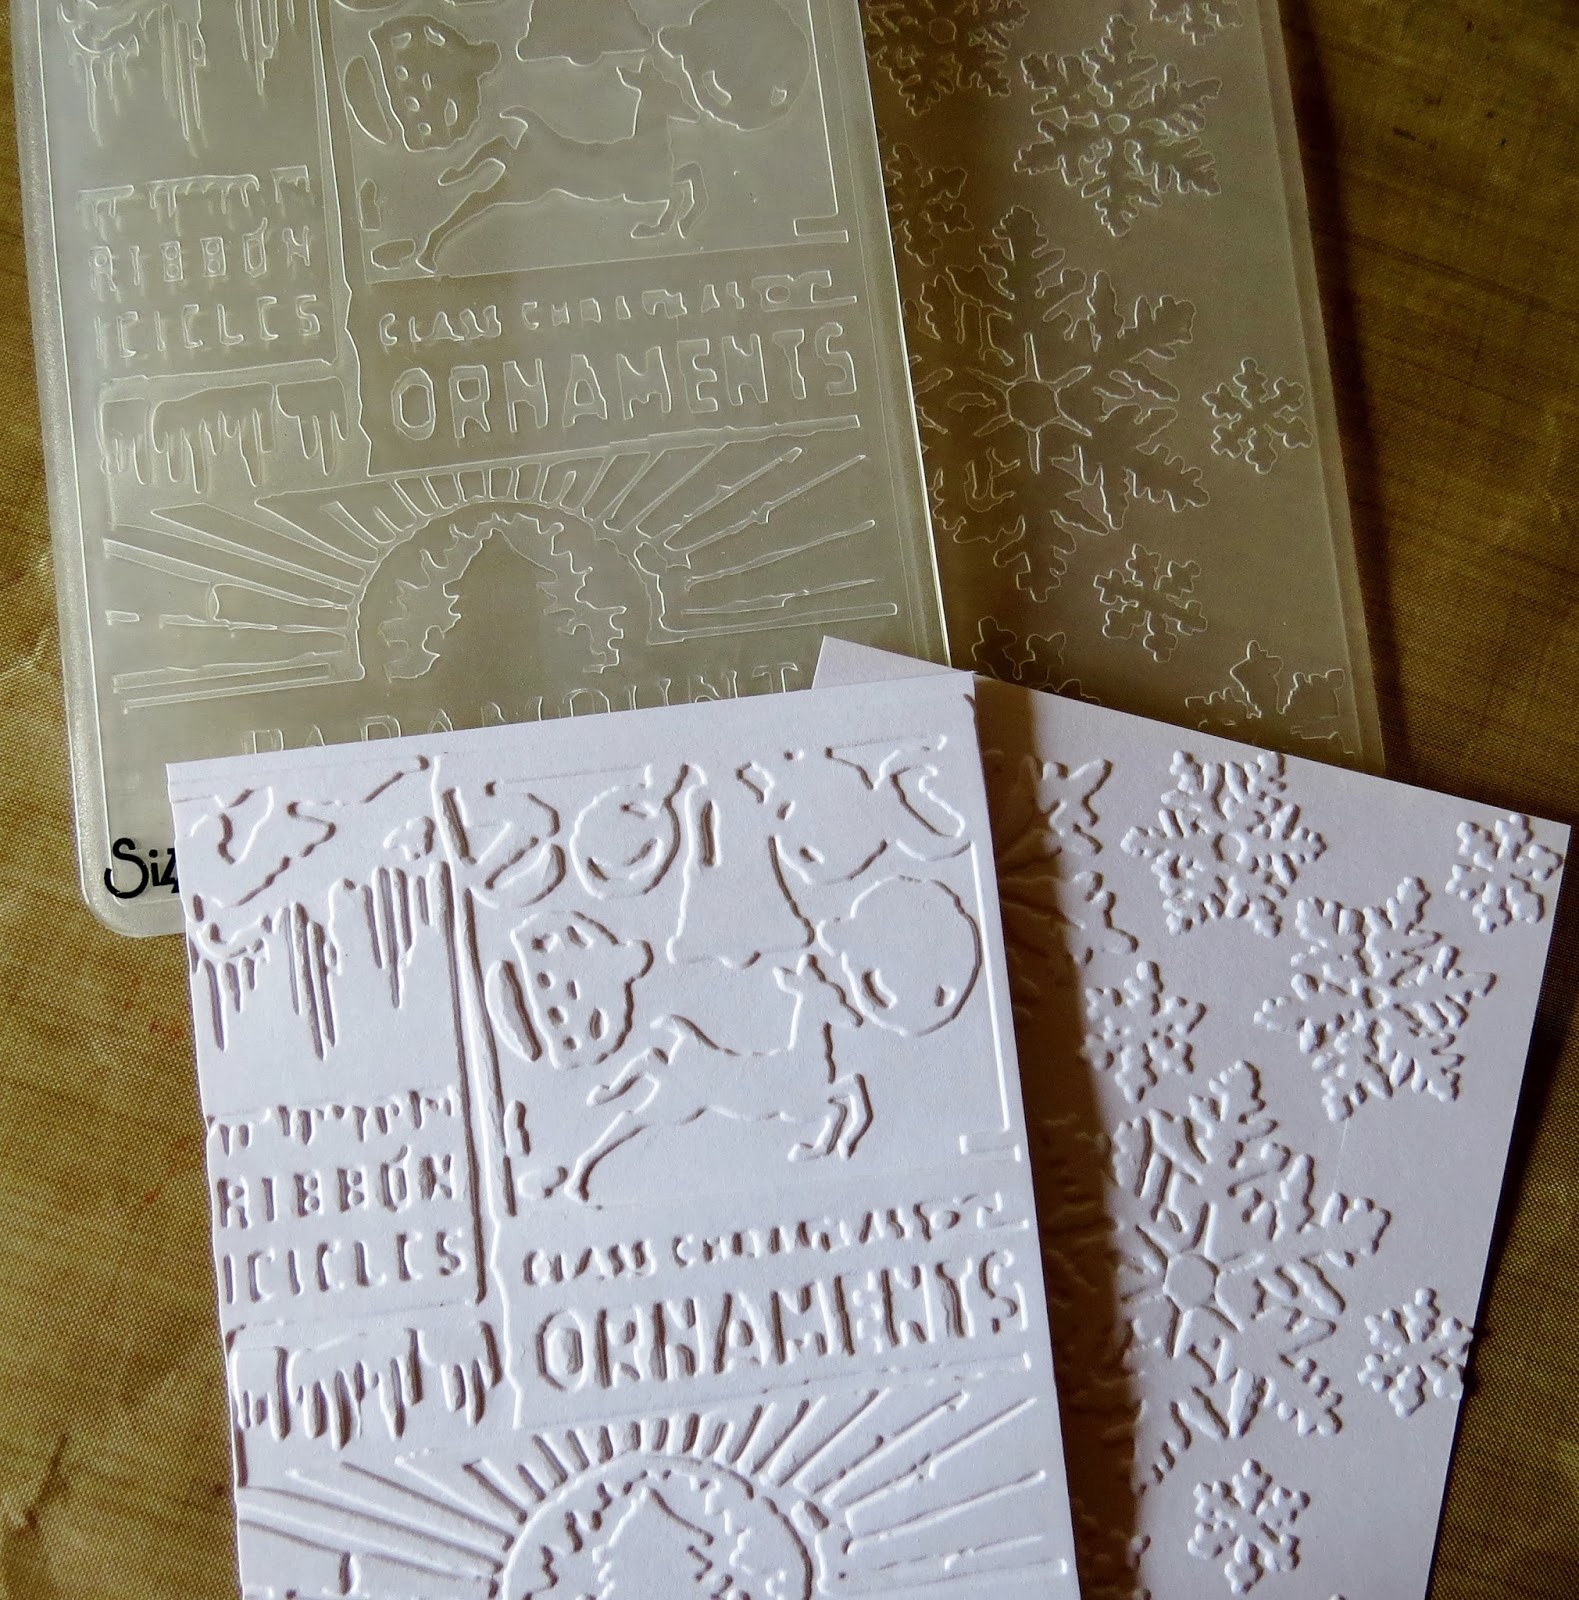
| Two pieces of card were embossed in seasonal folders. |
 |
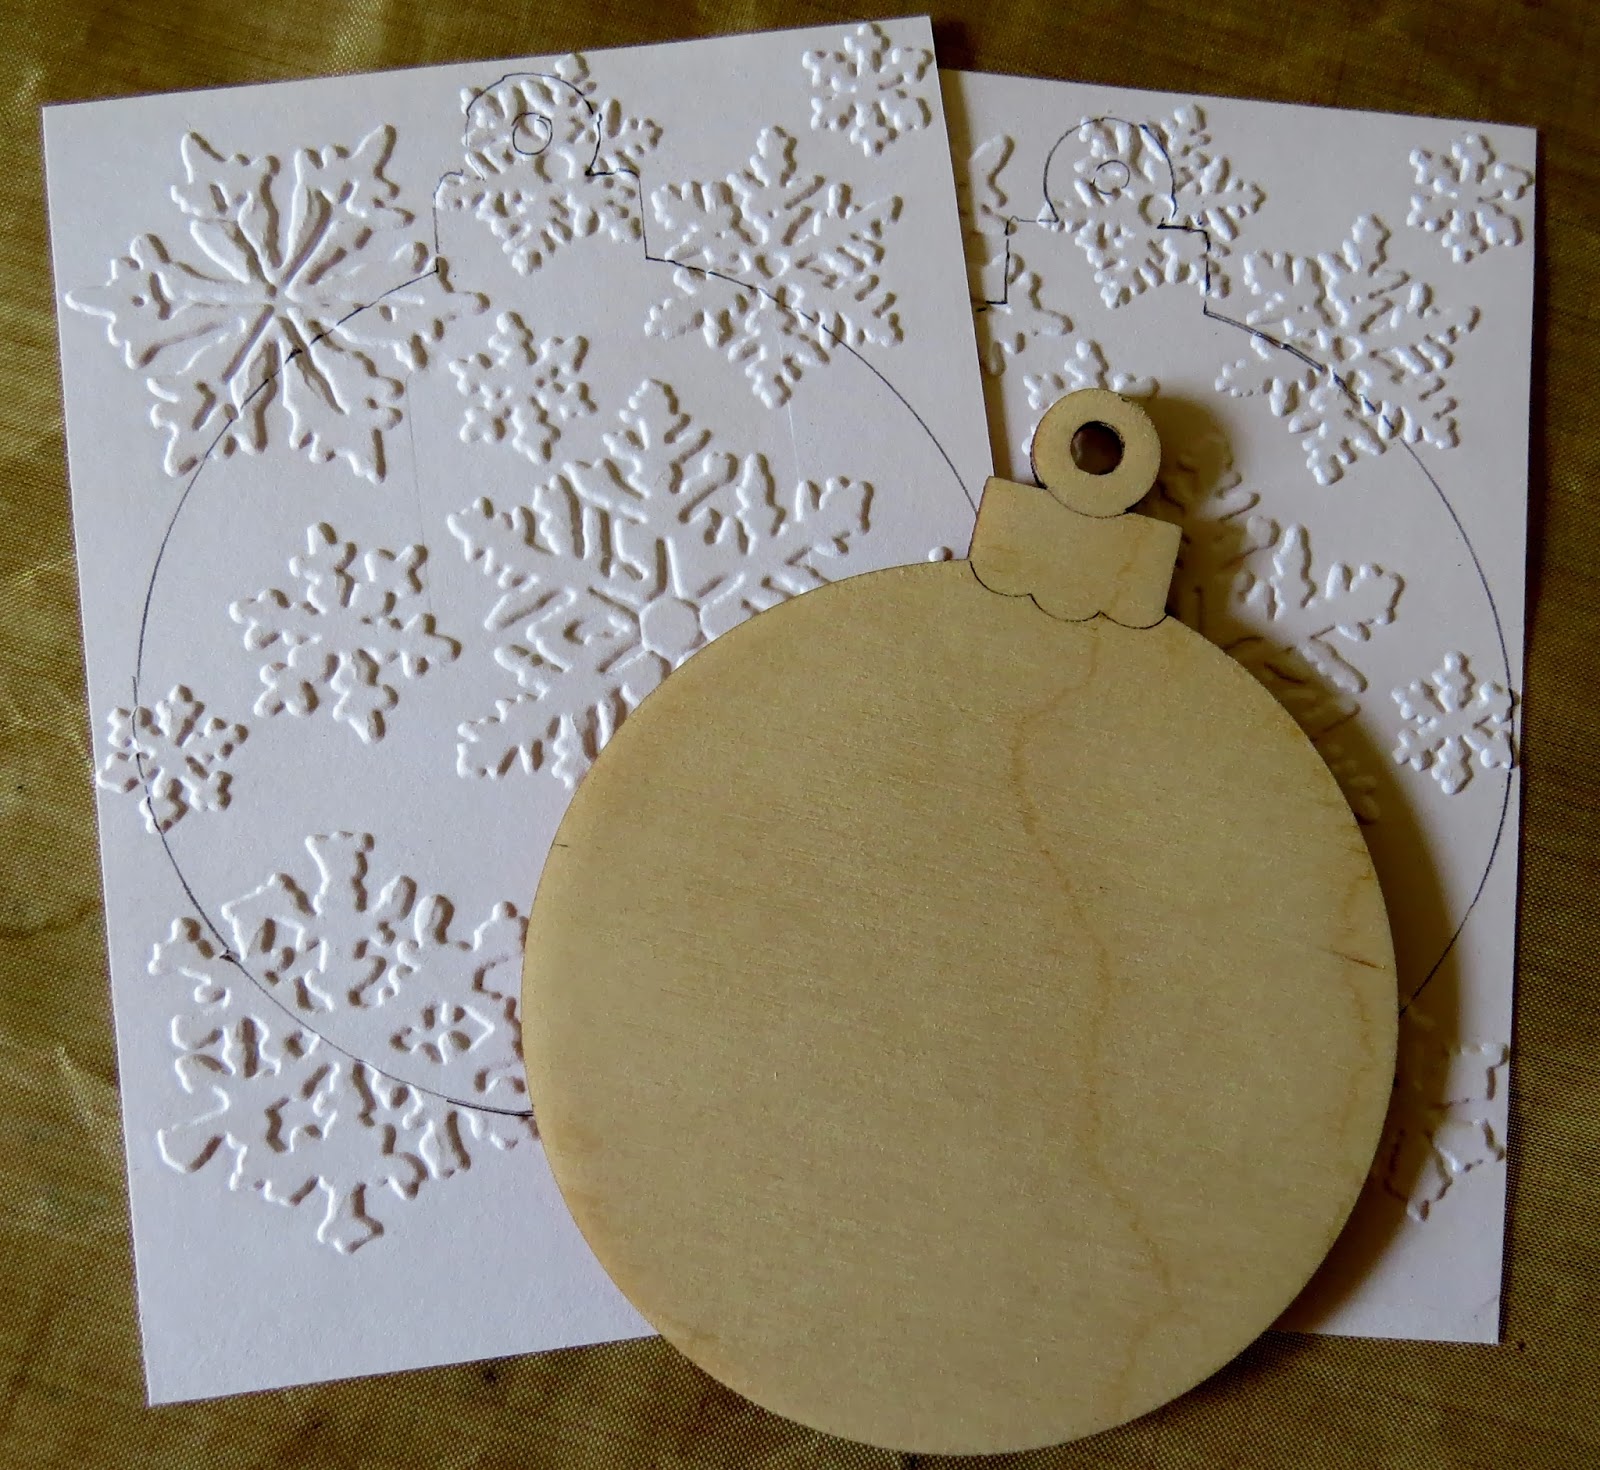
| Use the wooden bauble as a template to draw the shape onto the embossed card. |
 |
| Carefully cut out shapes. |
 |
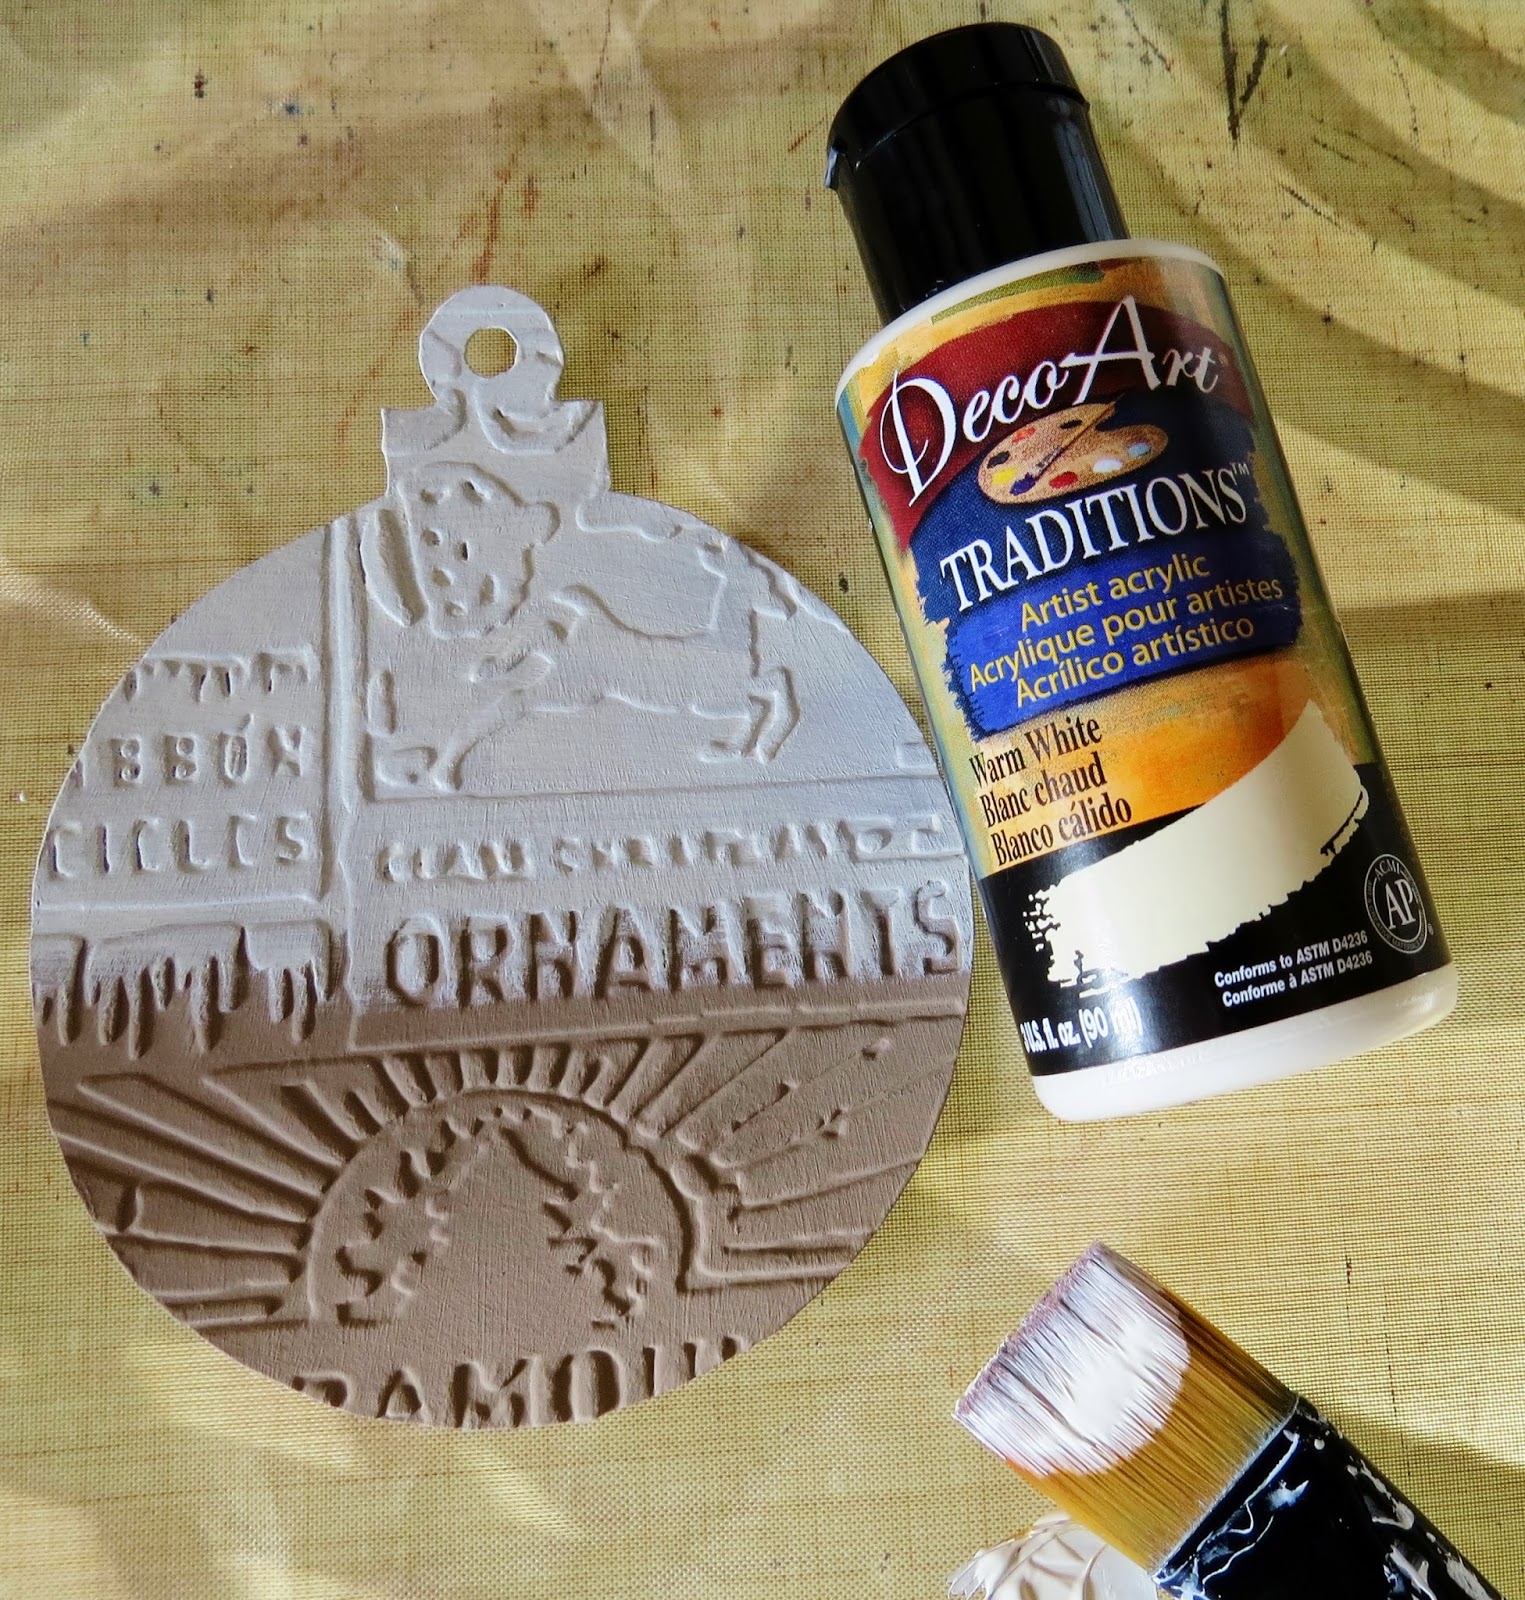
| Paint one bauble shape with chosen colours of Traditions paint. Add the same colour/colours to the edges of the wooden bauble - this ensures that no white bits show later! |
 |
| Paint both card and wood shapes with two coats of DecoArt gesso to seal. |
 |
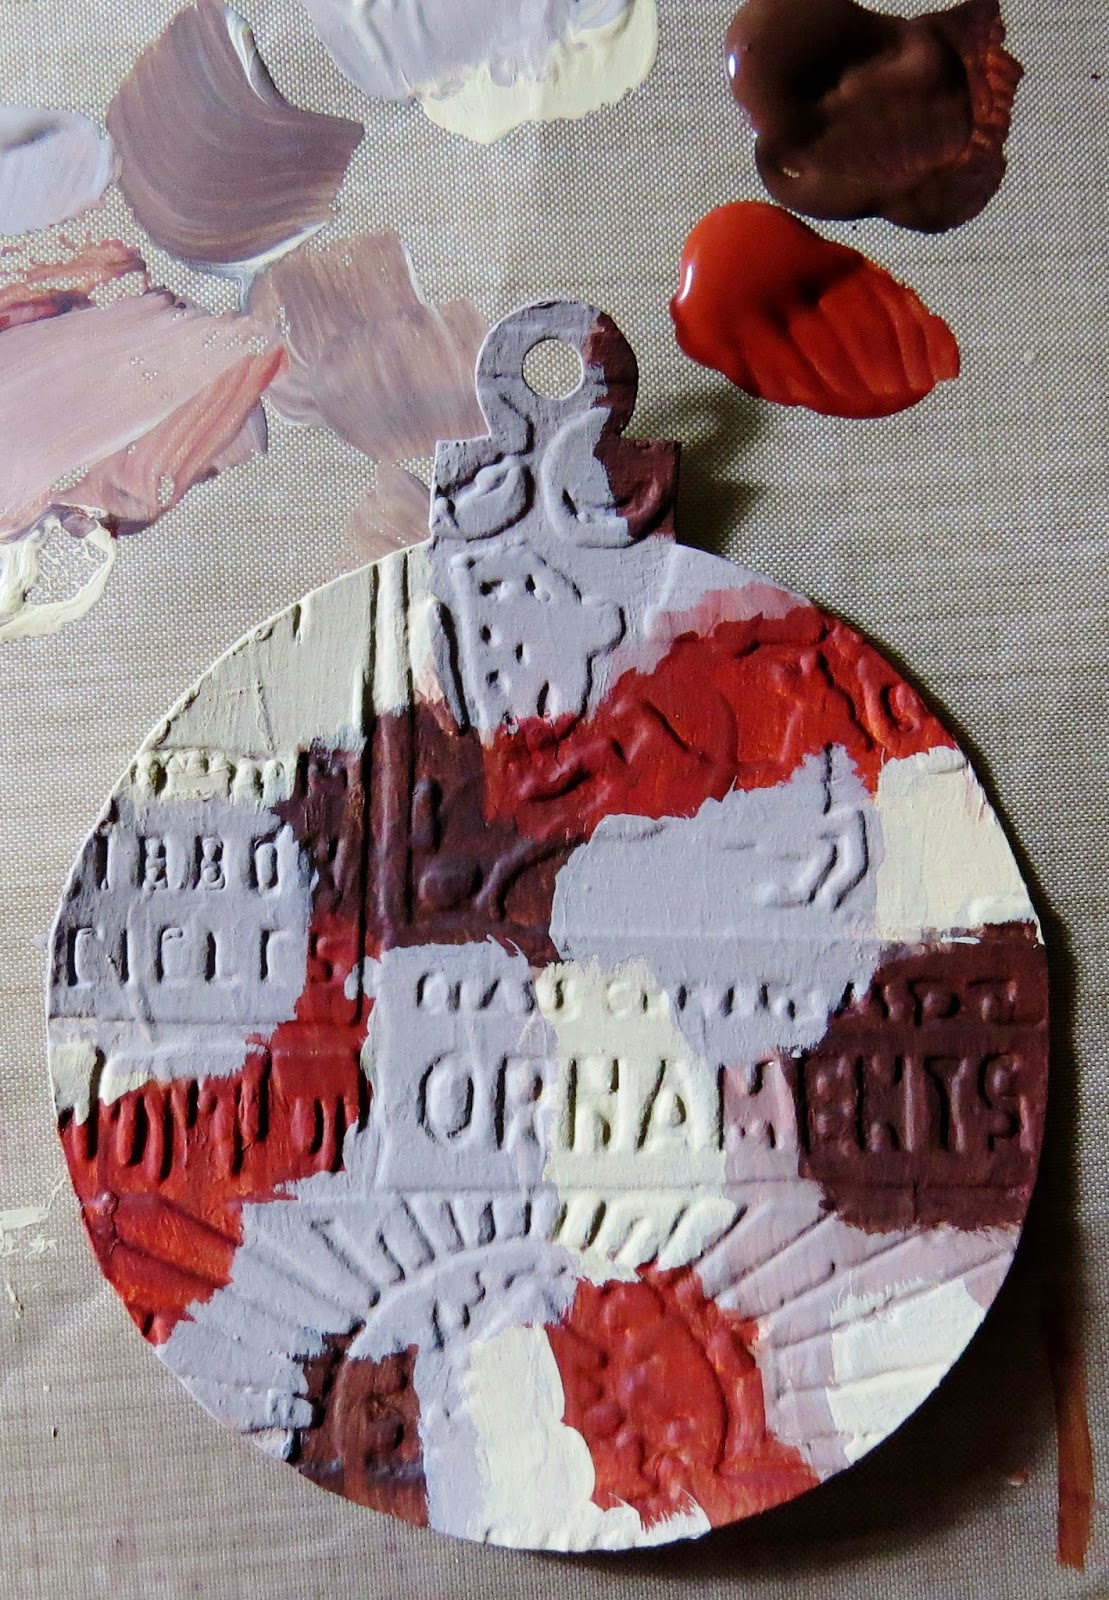
| Using a second paint colour, paint over the previous coat and dry. |
 |
| When the paint is dry, lightly sand the surface to expose the previous colour. |
 |
| Make a wash with Traditions Quin gold and carbon black and use to age the bauble. |
 |
| I wasn't keen on the pale look so I added a wash of Traditions carbon black. |
 |
| Some DecoArt metallic lustre in two different shades was randomly added with cut and dry foam then buffed. |
 |
| To finish this bauble face, some wooden glittery trees were antiqued with a Krylon pen and some Traditions raw umber paint. |
 |
| After buffing the DecArt lustre paste, some rusty wire and a rusty bell were attached. The bauble can be hung using the rusty wire loop which is made simply by twisting the wire to the size required. |
Three more bauble faces were made using a variety of techniques - I fear you would fall asleep if I uploaded all the pictures! Here are a few for your information - if you need any extra details, just drop me an email and I'll happily explain.
 |
| The second face was achieved using DecoArt Traditions in a variety of colours. When dry a quin gold wash was applied. Next some black DecoArt Americana was swiped over, allowed to dry for a time and then partially removed with a baby wipe. |
 |
| For this bauble, embossed card was used again over the wooden shape. DecoArt Traditions paint in warm white was used to give the shape two coats. DecoArt metallic lustre was applied to the raised sections to highlight the snowflakes. Finally DecoArt two step was applied. When dry raw umber Traditions paint was rubbed into the cracks and the excess removed with a baby wipe. Rusty wire and bells were used to finish the look. |


 |
The remaining side also features embossed card which was painted with Traditions in a shade of white then covered with burnt umber Traditions paint. When dry, the surface was lightly sanded to reveal the white shade. Some versamark ink was stencilled through sequin waste followed by gold shimmer powder. When set, the bauble was finished with a coat of DecoArt Triple Thick glaze. A wooden snowflake was embossed with powder in a shabby white shade.
I tried to get these three pictures in a line but gave up - blogger can be so annoying at times!
That's enough from me today! I've enjoyed making these baubles and will certainly use them somewhere this Christmas. Perhaps I could add them to another project which is coming up to today. Why not pop back later and have a look?
Your turn now! Before you start, pop over to Our Creative Corner and have a peek at the wonderful work from my very, very talented teamies - you won't be disappointed!
|


stunning work Julia and thanks for sharing how you did it! Amazing texture and detail - wonderful xx
ReplyDeleteSuch magical baubles Julia. I always love the way you get such texture and detail in your pieces and these are perfect examples. Who needs lots of colour when something can look this good in neutral tones! Jenny x
ReplyDeleteWhat a great post....love the creativity Julia....stunning results....very inspirational!
ReplyDeleteHugs, Alie :-)
Glorious textures and fabulous layers of painty detail... these look so amazing! And there's a bit of "great minds" going on - check out PaperArtsy on Tuesday!!
ReplyDeleteAlison xx
Totally stunning!!! Thank you for sharing the process…those Deco art paints are still on my wish list, hope Santa will bring some :)
ReplyDeleteHugs from Slovenia
Wow Julia, your bauble for this post and the ABAC post are simply amazing, but then your work is always so impressive - wonderful work, as ever! Hugs, Anne x
ReplyDeleteFabulous, such totally cool effects!! Absolutely love what you did with this bauble!!
ReplyDeleteJulia, these are amazing and I love the neutral palette! You have truly transformed those simple wood ornaments into something fabulous!
ReplyDeleteWow Julia, you have spun your painty magic on this pair, they are gorgeous sweetie xxx
ReplyDeleteThese baubles are FANTASTIC.
ReplyDeleteJulia, these are stunning! I so love the embossed ornaments. Wonderful!
ReplyDeleteThese at fab, love all the texture effects and colours
ReplyDeleteTrees going up this weekend so I need to get cracking!
Aprecio personalmente su trabajo. Soy bastante nuevo en este campo. Y quiero agradecerle la gran información... Por favor, añade más correo. 안전토토사이트
ReplyDelete