Friday 27 November 2015

Masterboards

I'm a fan of making masterboards  and I noticed that PaperArtsy are running a two week challenge on this subject so I decided to join in and link up a project. I often have a look at what they're up to because they provide a wealth of inspiration. I really loved what Anneke did with her Gelli Plate prints so thought I'd try something similar!

I am addicted to my Gelli Plate and often run off batches at a time. This results in some which I love and other prints which I don't love but which I can't throw away! I went through my pile of somewhat unloved prints and chose one to work on for my masterboard.

Here's the print I chose which is made with fluid acrylics:

Three colours and a stencil were used for this Gelli Print.

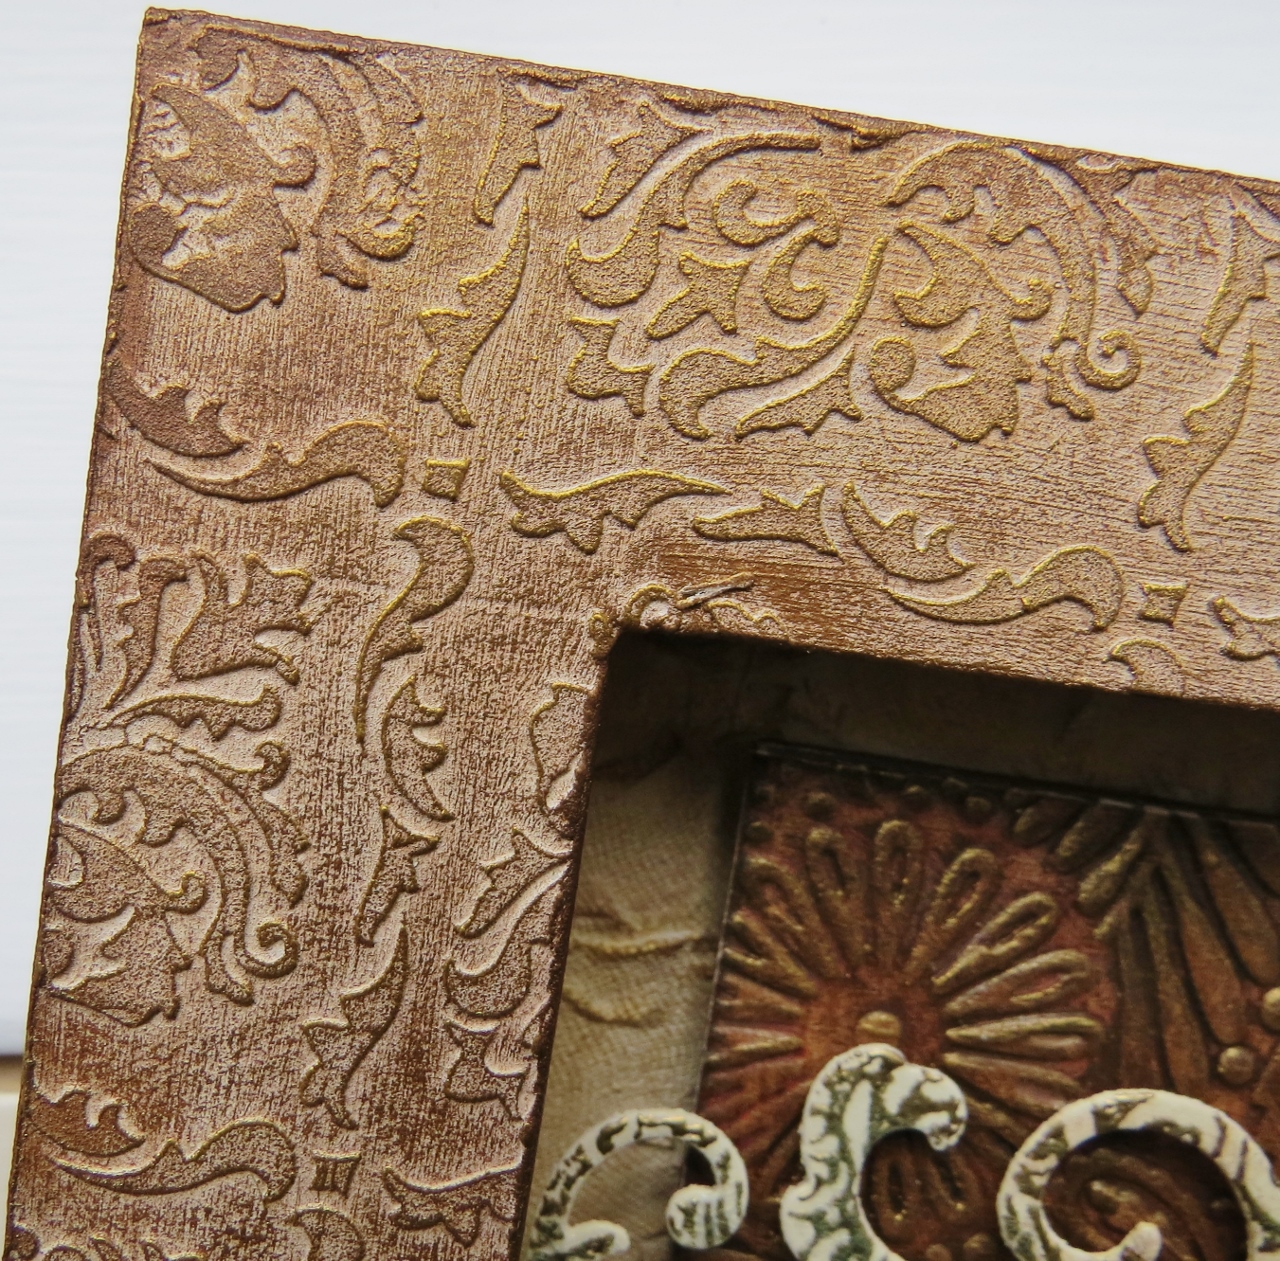
Here's what I made with the final masterboard made from my Gelli Print:


In the following images you will see how I transformed my rather sad looking Gelli Print:
I applied some Guacamole using a plastic card in a very random fashion.

Using the same technique, I applied Lake Wanaka and Spanish Mulberry. Some areas were left uncovered so the print showed through.

Snowflake was a applied through a small stencil using cut n dry foam.

The same three colours were applied using the edge of the plastic card to make vertical and horizontal lines in a random design.

Acrylic Paint pens were used to add little dots here and there to add more depth to the design.

I die cut an ATC, a tag type shape and a tiny tag.

These were the scraps I had left once I'd die cut the shapes and punched a few tiny flowers for embellishments.

The main Lynne Perrella image is stamped in black archival and embossed with clear powder. Little punched flowers are shaped and given a tiny gem centre. The edges are inked.

The number and words in the corner are rub ons which work very well on top of the paints. In the background some blue script has been stamped using an image from Hot Pick 1501.

The numbers are rub ons from Tim Holtz. More acrylic paint pen dots and some black ones made using a journalling pen.

I love how the masterboard design shows through the gaps in the stamped headdress.

A little black gem had been add to the point where two lines intersect in the circle. I usually colour these for her cheeks and had to resist the urge to add another colour!

Tiny tag which could be used as part of a future project. Rub on letters are used for the word.

Crackle glaze has been applied to the backgroud and some Walnut Stain ink has been used to highlight some of the crackle. The edge of the tag is sponged with Little Black Dress paint.

An unusual tag shape is die cut and stamped with this image from Stage Lights Plate 3. The technique used for the stamping is the same as the ATC.

The stars are stencilled using Little Black Dress. The dots are journalled on afterwards.

The numbers are rub ons. The edge of the tag is sponged with Little Black Dress.

The figure is grounded by adding some shadow with an Inktense pencil (dry).

Again, I love how the background can be seen through gaps on the stamped image.

More rub ons are used for the numbers. Extra details are added using the journalling pen and the acrylic paint pens.

Thank you for wading through this post! I thoroughly enjoyed sitting playing just for me rather than for DT posts for a change! I need to try to do more of this but the time just disappears doesn't it? If you haven't seen the post at PaperArtsy, just click here - it really is worth a look!

Thursday 5 November 2015

Remember Remember. . . . .


Morning everyone. Today sees the start of a new challenge at Stamps & Stencils. Our host this month is the hugely creative Ruth and here's what she has to say:

'Remember, Remember......it may be the 5th of November but for this challenge we want to see mixed media projects inspired by favourite memories.You may interpret this how you like as long as you include some stamping or stencilling.'

I could have chosen so many different things for this challenge - I love it! I decided to go down the memory lane route and use a photo of a favourite Auntie when she was very small in around 1929. The photo is a copy because I didn't want to use the original but the colour and definition are true to the real photo. Here's what I've made:


I've made a shadow box frame to display a photograph of a favourite Aunt. This is a copy of the 
original image which I preferred not to use. The colours and clarity are true to the original.

The box part of the frame was made from foam board. The top layer of the frame is made from chip board which is firstly layered with dried seeds and flower heads, all held down with matte medium.

The blank areas of the frame are stencilled with modelling paste followed by a layer of gesso to seal everything.

The frame is painted with fluid acrylics then dry brushed with various toning shades to define the texture.

The final dry brush coat is done with metallic gold fluid acrylic.
Dry brushing brings out all the texture in the frame background.
The little bee is made from cork clay using a silicone mould. Love how the insect is defined by the dry brushed gold metallic paint. 

The lovely photo is set into an aperture on a die cut which has been painted, stamped and powder embossed followed by a crackle glaze finish. The crown and little button are home made embellishments.

The little button is made from Fimo clay which has been given texture from a rubber stamp. The crown is made from cork clay which has been put into a silicone mould. Both embellishments are sealed with gesso then painted with gold fluid acrylic followed by antiquing cream. 

Detail image to show the antiquing.

A piece of embossed card is painted and dry brushed then glued to chipboard for rigidity. The die cut frame and photo are then applied.

Delicate crackle on the die cut which has been highlighted with paint in some areas. Love how the powder embossing below the crackle becomes an old gold, almost silver colour.

I loved making this piece so thank you Ruth for such a wonderful challenge. Now, it's your turn to come up with something and head over to Stamps & Stencils to link up with us. Just remember to add in some stamping, stencilling or both and you're away.

Sunday 1 November 2015

Topsy Turvy. . .

Good morning all. It's time for a new challenge at Our Creative Corner and our host is the lovely Lys this time. Here's what she has to say:

'We often try to do things the right way, use the suitable thing, organize our creations following definite lines or intentions… and sometimes it doesn't go the way we wanted to. Sometimes it goes to the bin, sometimes we discover something new… and we love it!

On the right side or topsy turvy… Is there a right side in art?


So let’s play! Whatever it is: upside down, inverted, reversed or escaping from the right order…. Please show me one “topsy turvy” creation, and how it came to life in your hands!'

Crumbs! I'm not going to pretend I found this easy and I had to think long and hard right down to the wire almost. . . . . . 

In the end, I decided to go with using things I have in a different or perhaps unusual way and I hope you like what I came up with!

I decided to use a discarded wooden stamp block and create a little piece of art just for me!

I've gradually removed my old stamps from their wooden blocks because I prefer using them on cling material. This is one block which didn't find the way into the recycling bin and it becomes my first 'topsy turvy' thing. 

The plastic image label is carefully removed from the wooden block which is then prepared for use. A light sanding followed by two coats of gesso with further sanding in between coats. 


After the gesso coats, strips of fabric bandage (topsy turvy use!) and vintage book pieces are added. The horizontal embellishments are made from paper clay using a cake decorating mould - my second 'topsy turvy' thing. For my third 'topsy turvy' thing, I used stamps and paper clay to make the little buttons on the die cuts (I know we do this a lot but I worked on the idea that stamps weren't created initially for use on clay. . . . . ). 

I made a rustic heart from paper clay and used a stamp to embellish the clay before it dried. The heart is finished with DecoArt Media acrylics and antiquing cream. 

The heart sits on two 'bars' of paper clay created in an icing mould. Fluid acrylics are used again to colour the clay when dry. This is followed by dry brushing with gesso and gold metallic fluid acrylic. 

Die cuts are used across the wooden block - they are supposed to be dandelion clocks but I rather like them used in this topsy turvy way! Again, they are finished with dry brushing and some stamping with a bottle lid. The little 'button' is again made from clay and textured with a rubber stamp. Dry brushing as before finishes the button. 

The gold spots are made by stamping with bubble wrap followed by embossing with gold powder in quite a rough fashion. The frayed bandage can be seen clearly under the gold embossing. The white spots are stamped using a scrap of red rubber and some gesso. The larger white circles are done using a bottle top and gesso. 

The 'feet' started out life as wooden beads before their makeover using fluid acrylics, gesso and embossing powder. 

I love the effect of the dry brushed gesso on the beads along with the roughly embossed powder. The button image clearly shows the level of texture achieved with the stamp. This button was made from Fimo clay rather than the paper clay - I prefer the Fimo but having to bake it in the oven means the results take a little more effort. 

The back of the stamp block has been finished with some home made embossed card using the same colours. 


The embossed card was simply dipped into the leftover acrylic paints which were spritzed with water to make them very fluid. The card is dried between each dip thus building up the layers. The final touch is to dry brush the raised areas of the embossing with fluid metallic gold acrylic. 

The sides of the block don't escape the treatment either. 

The top of the block. 

Some twists of rusty wire add to the finished look. 


The vintage paper layer is just visible in this image under the bandage. 


I do hope you have enjoyed reading about my little attempt at 'topsy turvy'! I really enjoyed making this small piece of art and I just wonder what took me so long to get going! Don't forget to go over to Our Creative Corner and see what my hugely creative teamies have come up with and just how topsy turvy they have gone!


Our generous sponsor for this month is:


Colours may differ from those shown


Now that's a rather wonderful prize isn't it? You have until the 28th November to join in with our new challenge and be in with a chance of winning this lovely collection of goodies. I do hope we'll see you and your creation very soon!