Sunday 28 April 2013

ATC'S At Anything But A Card - Challenge 18. . . . . .


The challenge for the next fortnight at Anything But A Card is to make an ATC using any theme and materials you fancy. Half of the team will be sharing their projects today and you can find them HERE. Don't forget the rest of the DT who will be joining the fun and showing us their inspiration next Sunday.

I'm fairly new to the world of ATC's but I have to say that I could get hooked on making them! The size is restricted but it's amazing just how much you can pack into such a small space. I originally planned to make one ATC but I got a bit carried away and ended up with three because it was such fun!
I used the same little girl image each time and kept pink on each piece. The centre ATC has an inked background and the other two are created with Americana paints with some ink.
I should warn you that there are quite a few pictures but I've tried to limit my text in order to keep you awake! I failed miserable of course. . . . . 
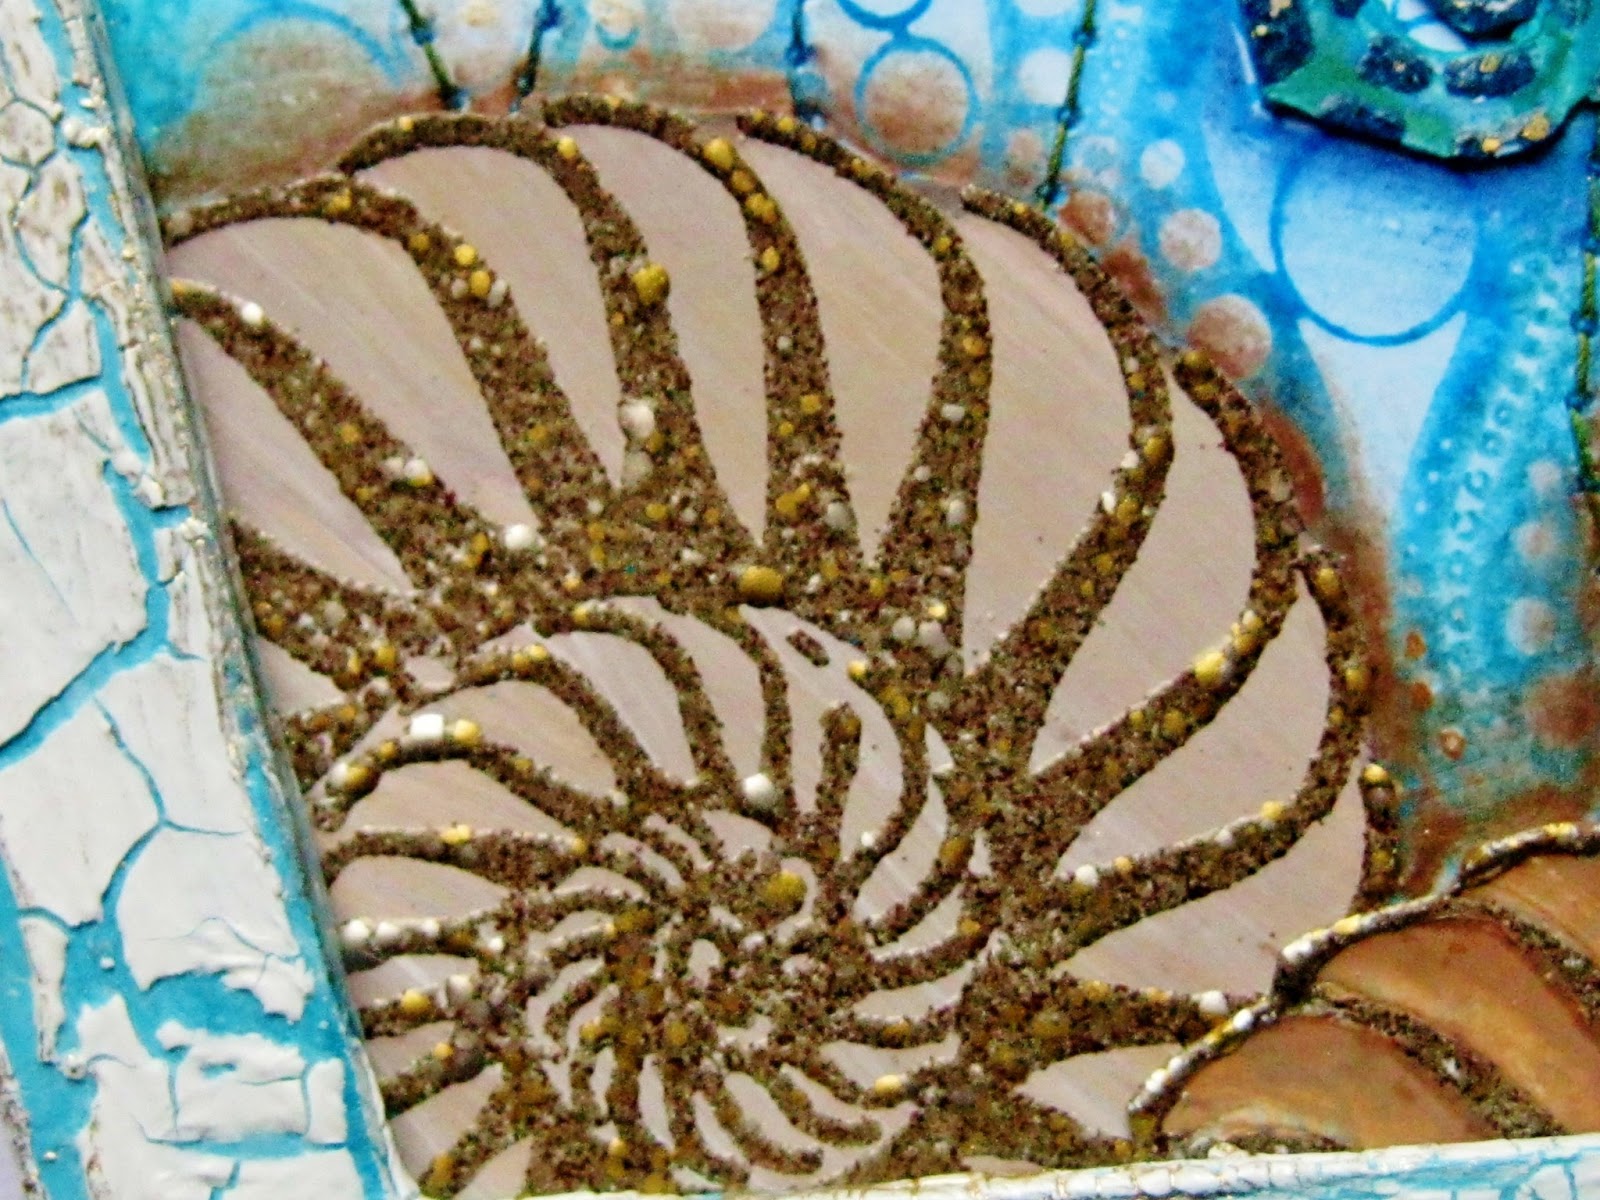
Painted background combined with paint stamping, machine stitching  and  some stencilling. For this and the following ATC, the girl image was stamped onto a background which was stamped with a cog image and sponged with various distress inks.
This background was created with text die cuts, distress ink, stamping with versamark and mica powder and some stencilling.
Another paint background with paint stamping, archival stamping and some stencilling. The little girl here is made using one of Tim's techniques and shrink plastic, alcohol inks and metal tape.


The girl image was made into a mini ATC here, stitched on the edges and coated with utee.


The sentiment was hand written, inked with distress and embossed with clear EP. The little flower is part of the main image. It was stamped, coloured with distress, cut out, embossed as above and a little gem added. The flower sits on paper cord coloured with sharpie pen.


The same little girl and cog background. Some script stamping with versamark and gold mica adds interest.

The little flowers are punched shapes left over from a previous project. Some gilding paste was added to the edges to tie in with the mica powder.


Text diamond shaped die cuts are incorporated into the background along with more mica powder over stamping and some stencilling. Black pencil shading was added here and there to create depth.


Shrink plastic tile created with a Tim technique. The little punched flower is added to finish the piece.

You can see the various shades of Americana used in the background and the red archival stamping over the top.


A piece of the cog background was coated with gesso and the quote was stamped with black Americana acrylic.

Some punched flowers and twists of rusty wire finished the look.


Thank you so much for sticking with me and reaching the end. I loved making these little pieces and it was fun to use the same image yet try to create a different feel each time. What do you think?

What will you do for your ATC? I can't wait to see so get started and then link up at Anything But A Card!


Saturday 27 April 2013

Water Stamping At Technique Tuesday. . . . . . . .

I've been hastily trying to finish off projects which have been sitting around half done. My piece for Technique Tuesday is one of those but at least it has now been completed.

The challenge set is to use water stamping and a tutorial is given over at Technique Tuesday. I have given my water stamping a little twist by over stamping with colour using the same stamp and background shade. I hope this is acceptable. . . .

No tag today (!), here's the card I made with my wonderful new Chapel Road Stamp images:

I had trouble getting a photograph that showed the true colours of this card. The green is distress shade Shabby Shutters and is much more vibrant in real life!
The lovely verse was stamped with archival.
Some of the flowers were die cut and some punched from card which had been water stamped and restamped over with the same shade as the background.
This punched flower was given a coat of Ultra Thick EP, shaped, edges finished with gilding paste and a black gem added to the centre.
The parallel strips applied were made from the same background piece as the florals and was also given a coat of Utee to finish.
'Margaret' was stamped onto white card using archival and distress ink was applied over the top. This view also shows the water stamping in the main background with the same stamp and shade used over those areas. The stamping on the edges was applied using ink only.
Some of the background was used for a piece of die cut lace. Utee was applied to the lace. Whilst it was still molten, a stamp with Brilliance ink was pressed onto the lace to give added interest.
The main layer was machine stitched and the edges inked to finish.
The bottom layer of card was inked with the same colour as the florals, lace etc. Some script was stamped using Brilliance ink.

Hope you like this card and thank you so much for looking - let me know what you think! You've still got time to enter this challenge at Technique Tuesday if you want to, but you'll need to be quick!

I shall be back tomorrow with the new challenge at Anything But A Card. Enjoy the rest of your weekend everyone.

A Brand New Our Creative Corner Launches Soon. . . . . . . . .

I am so excited to be able to tell you that I've been asked to join a design team for the re-launched 'Our Creative Corner' challenge blog!


The blog has a new owner and a new design team and all will be revealed on Wednesday 1st May. For those of you who know Our Creative Corner, the blog will have a fab new look, fantastic challenges which will inspire many of you I'm sure and lots of other wonderful features. Each challenge will last for one month so plenty of time to get those creations made and linked up!

Please do pop over and have a look round, you can find OCC here. I'm not going to give you all the details yet because surprises are always fun. However, I can promise you that the design team is full of amazing talent which is sure to inspire you each month - I feel totally honoured to be part of this new and exciting venture.

I look forward to working with the team and most of all, I can't wait to see what you create for the challenges!

Friday 26 April 2013

Craft Barn Alpha Challenge. . . . . . Letter W

Hello everyone. Yes, I'm finally back and able to post again! Our internet returned on Tuesday and seems to be fine (fingers crossed!). I have started getting back to visiting you but please bear with me while I try to catch up.

This is my first piece of craft work for a while and it's my latest entry for the Craft Barn Alpha Challenge. I'm really enjoying taking part and you can join in any time!

The letter for this fortnight  is W and I have chosen the word 'Win'. We are asked to include one other element in our background and that is to use circles. I've based my pages on the game of Bingo because the 'circle' requirement echoes the number balls used in this game. I've also used a fairly retro circle stamp for my background because that's how I view the game of Bingo!

Here's what I made:

My 'Win' pages with the clip helping to keep them flat and open!
The background was layered with washer die cuts (from book pages), circles stamped with Americana acrylic and colour added with pencils / water colour pencils. The numbered circles are stamped with archival, coloured with watercolour pencils before cutting out and attaching.
Word definition highlighted as required by the challenge.
The letters are die cut from card with a background created in the same way as the main pages although a waterbrush has been used to give a varied effect to the colour. Once applied, each letter has been shaded with black pencil and partially outlined with white gel pen.
Close up to show the Bingo balls on the background.

The Bingo card was stamped onto card coloured with distress stain.
The die cut washer strip is cut from book text, a thin layer of gesso applied and a final coat of distress ink.
Random stamping was added to the washer strip and some doodling added using black and white gel pens.


Hope you like my pages - do let me know what you think. It's so good to be back and hopefully I won't be absent again for a while.

Watch out for a new post here tomorrow where I shall be sharing some exciting news! Have a great weekend everyone.

Wednesday 17 April 2013

Internet Playing Up - AGAIN!

Hello everyone - especially my new followers - so good to have you all here.. As you can see from the title, I'm having problems with the internet which was fixed yesterday and died again the same day. I've had several conversations with Virgin Media who now acknowledge that the problem has been there for two weeks and we were lucky to get online at all during the previous fortnight!

I'm currently using my mobile phone to connect my laptop to the internet but it's not ideal at all. I just want you to know that I'll be back as soon as I can. Sadly, they can't come until Monday pm to fix it. . . . .
Please forgive my absence and I may visit your blog but if I don't leave a comment don't be cross with me - I shall try and find a kind person who will let me join their wireless over the weekend and then I can do lots of visits! Until then, have fun and see you soon. Juliaxx

Monday 15 April 2013

Anything But A Card - April Showers - Very Late. . . . . .

Please note that this should have been posted yesterday but our internet went on strike which resulted in some unladylike behaviour from me whilst trying to fix it! An engineer is booked for tomorrow but my daughter rang earlier and said 'why don't you use your phone as a hotspot Mum?'. Er. . . .  Didn't know about such things but I followed her instructions and here I am, back online and feeling human again! What did we do before computers??

The new challenge goes live today (yesterday!) at Anything But A Card! Our theme, very aptly for the weather in the UK, is April Showers. This means you can choose to do anything with a water theme be it colours, images, materials or a host of other watery delights. You can make anything you like, using anything that pleases you as long as it isn't a card and it fits the theme for this fortnight. Can't wait to see what you come up with!

We have one or two surprises up our sleeves over the coming months so look out for some new inspiration at Anything But A Card. Today, we are introducing you to our newest recruit: DeeDee Catron of UmWowStudio and I'm sure you'll all make her feel very welcome. Good to have you on board DeeDee.

For my piece today, I had to drag out my little seahorse stamp because I just love him! I wanted to use the colours of the sea and decided to include this lovely image as part of the hanging I've made. I used a Tando Arch thingy (I can never remember the names of these things!), acrylic paint, inks, watercolour pencils, water soluble crayons, stamping, stitching and of course some crackle - at least you don't have rust this week!

Here's the little hanging I've made:

The completed underwater scene (not to scale!). The seam binding hanger was coloured with various distress stains to match the colour scheme.
The frame was given two layers of gesso, followed by a mix of soft blue acrylics. When dry, a medium was used to add larger than normal crackle (learnt in my Andy Skinner club!). A further layer of acrylic crackle paint was added and hey presto! Bigger crackle - thanks AS! To complete the shabby look, some treasure gold was added randomly.
The background was achieved by sponging card with distress inks in various blues. Water soluble crayons/pastels were applied straight onto the rubber stamp, spritzed with water then applied to the background. A white gel pen added some detail here and there.
The seahorse was stamped on scrap card and aged marine EP added. the spaces between the embossed areas were coloured with watercolour pencils and a waterbrush.
The shells were stamped onto an acrylic paint base and embossed with aged taupe EP. The shell to the right was stamped onto plain card and coloured with watercolour pencils and a waterbrush. Shading was added around the images to added depth (watercolour pencil again).
Some machine stitching was added to create interest on the background. You can clearly see the white gel pen here too and shading around the seahorse.
Mmmm. . . . . tension on that machine stitch is a little dodgy but it all adds to the fun doesn't it!

Hope you like my little hanging. It was great fun to make and when I get to use paint, ink and stamping it's even more fun! Now it's your turn. . . . . . . . . . .


Friday 12 April 2013

The Craft Barn Alpha Challenge - Letter R

Hello everyone. I've been a little quiet recently mainly due to my daughter's 21st Birthday and various other events which stood between my desk and I! I'm back now though and I do hope to catch up with you all very soon. May I also welcome my lovely new followers to my blog too? It's wonderful to have you here.

I have managed to complete the latest challenge at the Craft Barn this fortnight. The challenge this fortnight was to use the letter 'R' and come up with an idea to depict the given letter. I've used a Tim image which I never thought I'd find a use for until this letter came up so at least my purchase of the stamp plate is now fully justified!

With a husband who serves in the armed forces, this word just sprang out from the page! I have chosen the word 'Regiment' and here's what happened in my dictionary this week:

Finally, I found a use for the Tim soldier! This is my little regiment on parade. I'm having trouble with my book already and the clip had to be put in place to prevent the pages springing closed.
The word definition left clear as the rules state.
The soldiers were stamped onto old book pages. Each was coloured using water colour pencils and a little distress stain. Rosy cheeks were added to each soldier for fun. The soldiers were then cut out and attached with matte medium.
The letters were die cut, stamped with versamark and embossed with white EP. Distress ink was used for the red letters and gold acrylic paint for the others - this ensured the stamped resist image remained visible. Shading was added around the letters with a black pencil.
The speech bubble was stamped and cut out leaving only the section required. The centre panel was painted with fresco for a matte look before the labels were printed and added to the space. Shading was again added for effect.
The background was created with distress inks using both sponging to blend and stamping (using the soldier image / text) to create depth.
Sequin waste and background stamping can be spotted in this image - just!
Soldiers can be seen stamped in the background to shadow the cut out soldiers in the foreground.

My husband was horrified that the uniforms were historically incorrect - in the case of the Blue Gent  - but I don't worry about such details when having fun! My apologies if you prefer your historical details to be accurate too. . . . . .

The challenge  can be joined anytime so if you haven't yet linked up, why not create something and link it up to the Craft Barn blog here. I think it's great fun because I find myself producing work that perhaps, I wouldn't normally do - so much fun!!